Column: How to Grow Garlic
You know fall is fast approaching when this topic comes up! I think we all love adding garlic to our savory cooking, don’t we? If you don’t know how to grow garlic, I’m here to tell you that it’s easy. But there are some important concepts to understand first.
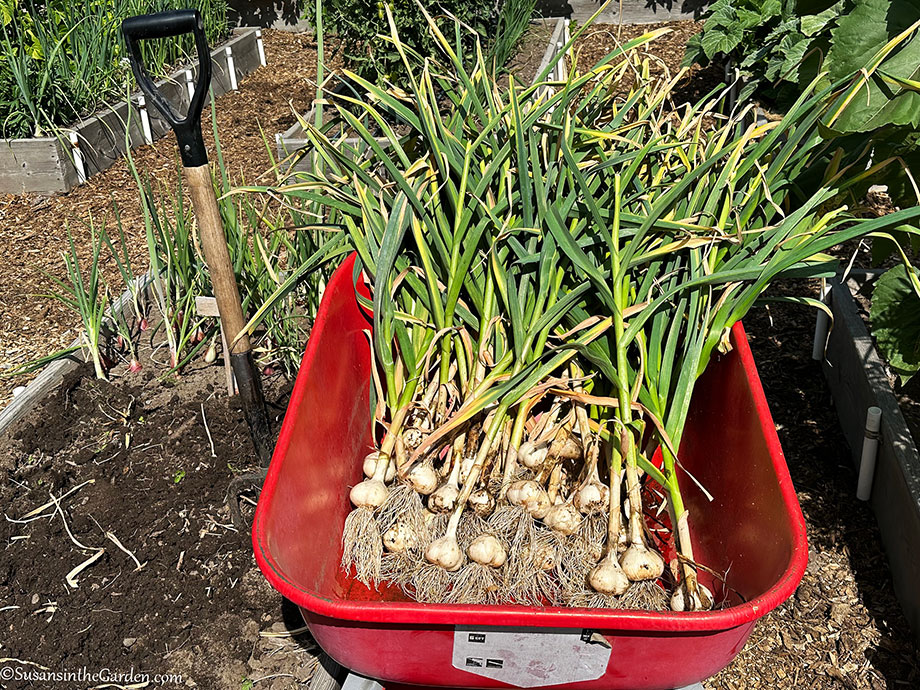
Fortunately, I cover everything you need to know in today’s column. I hope you’ll enjoy it. And in the photo to the left, you can see our 2023 garlic harvest. We grew ‘German Red’, which is one of our favorites.
by Susan Mulvihill
Even though the vegetable gardening season is coming to a close, fall is the time of year to plant garlic. The plants develop a strong root system through the fall and winter months and are harvested in the summer. This indispensable cooking ingredient adds so much flavor to savory dishes.
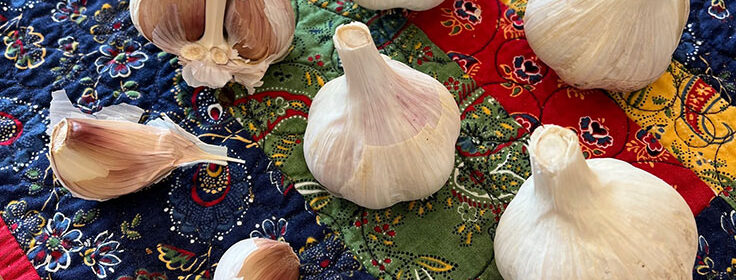
Decide whether you want to grow softneck or hardneck garlic. Softneck varieties produce bulbs containing a lot of small cloves. As their name implies, the plant stems are soft and pliable which means you can braid them together after harvesting them. Inchelium Red and Silver White are two varieties within this type. Hardneck garlic has a rigid stem and produces fewer, but much larger, cloves. German Red, German Porcelain and Music are some great varieties to try.
For your first year of growing garlic, start with certified disease-free “seed garlic” from a garden center or online source. After that, you can set aside some cloves from next summer’s harvest to plant next fall.
At planting time, separate the bulbs into individual cloves. Prepare the soil in your garlic bed by adding in some organic fertilizer and bone meal. The bone meal will provide the developing bulbs with phosphorus, which promotes good root development.
Space the bulbs 6 inches apart and plant each with the pointy end facing up by pushing them into the soil until there are 2 inches of soil above the tip. Cover the surface of the bed with a thick layer of mulch. This will help insulate the bulbs against frost-heaving during the winter.
I prefer using grass clippings from a lawn that hasn’t been treated with herbicides but shredded leaves or straw also work well. Label the bed if you have planted more than one variety.
In early spring, little garlic sprouts will start poking through the soil surface. Move the mulch aside so they aren’t impeded in any way.
Once the soil temperature reaches 50 degrees Fahrenheit, microbes will be able to break down nutrients for the plants. Apply a fish fertilizer which is high in nitrogen. Feed them twice more at 2-week intervals.
Water your garlic bed on a regular basis and keep up with the weeding since they will compete with your plants for moisture and nutrients.
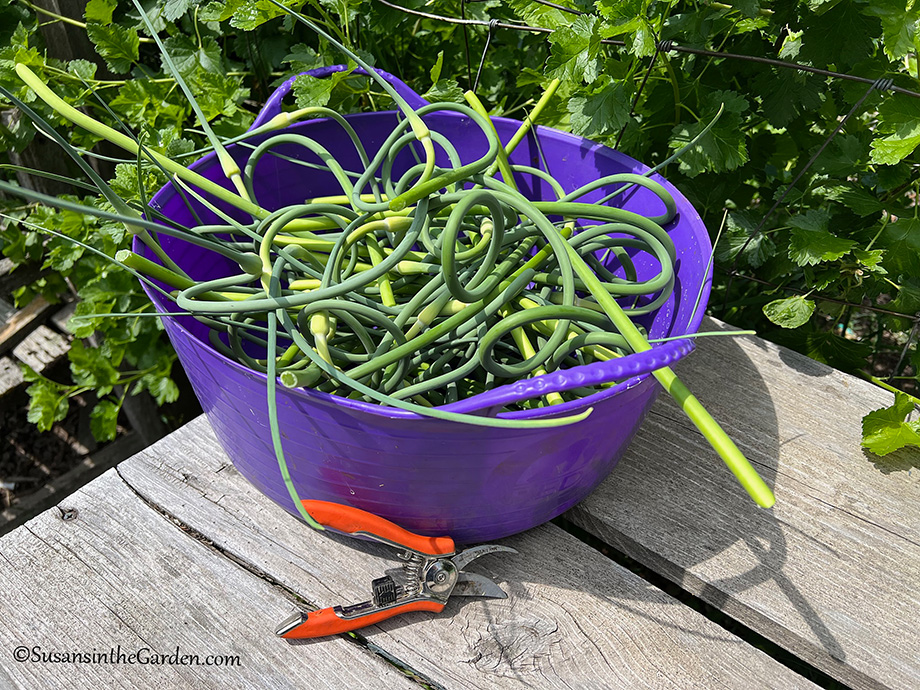
If you’re growing hardneck varieties, the plants usually form “scapes” which are flower stalks. Since flowering will deprive the bulbs of energy, it’s important to remove them. Wait until each scape forms a complete curlicue before clipping it off the plant.
Did you know that garlic scapes are delicious? That’s one of the bonuses of growing hardneck varieties because you can chop up and add the scapes to savory dishes in addition to harvesting the bulbs later in the summer.
Wait until the lowest three or four leaves on each plant have turned brown before lifting the bulbs. It’s best to use a shovel for this purpose because if you just pull on the plant’s stem, there is a risk of damaging the base of the bulb, which in turn affects how long they will keep in storage.
Move the harvested plants to a sheltered area, such as a garage or carport, so they can dry. When the leaves of the plants and the skin covering the bulbs are papery dry, clip off the stem and the roots. Store the bulbs in a cool, dark area and enjoy your harvest over the next few months.
Susan Mulvihill is author of “The Vegetable Garden Problem Solver Handbook” and “The Vegetable Garden Pest Handbook.” She can be reached at Susan@SusansintheGarden.com. Watch Susan’s videos at youtube.com/susansinthegarden.