Composting Guide
You’ve probably heard the expression, “if you feed your soil, it will feed your plants.” This is so true! And yet, our soil’s health and fertility are often overlooked. I thought you would appreciate this composting guide. My goal is to take the mystery out of it for you.
You don’t need anything fancy to improve your soil, just some lovely organic compost. You can purchase some from garden centers. I think it’s much easier, more efficient, and more environmentally-friendly to make your own.
If you’ve looked into making compost in the past, you probably felt overwhelmed by the carbon-to-nitrogen (C:N) ratio. The first time I ever heard of it, I got so confused! Fortunately, there’s an easier way to build a compost pile and still end up with the same results. My goal is to simplify the process for you and encourage you to give it a try.
Here is an overview of the composting process:
To make your own compost, you need to combine two general types of materials – brown and green. Brown materials contain carbon while green materials contain nitrogen. But don’t worry about the C:N ratio. You can use a much simpler formula of 2 parts brown materials to 1 part green.
What are brown materials?
Examples of brown materials include things like the leaves that dry up and fall from our trees in the autumn. It also includes dead plants, straw and shredded newspapers.
What are examples of green materials?
When it comes to green materials, think of living plant material, kitchen scraps, and grass clippings. But don’t treat your lawn with herbicides as that can have a bad effect in your garden.
Build your pile with twice as many brown materials as green materials. You will end up with excellent compost! The interesting thing about those brown materials will foster a compost that more dominant with fungi. That is more beneficial to our soil. If the mention of fungi alarms you, rest assured that it is exactly what our soil needs. And mycorrhizal fungi in particular, which benefits the roots of our plants in so many ways.
NOTE: The smaller you chop up the materials, the more quickly they will break down.
Don’t forget moisture and air!
In addition to the browns and the greens, there are two other essential factors for compost, moisture and air. Both help with decomposition. Microorganisms and other small creatures need air in order to survive and break down the materials.
Let’s take a look at the types of materials that are ideal for adding to a compost pile:
For brown materials (sources of carbon), use dried leaves, small branches and dead plant material. Other good choices are eggshells, shredded newspaper or regular paper, and corrugated cardboard.
Green materials (sources of nitrogen) include grass clippings from a lawn that hasn’t been treated with herbicides. Additional items are coffee grounds and kitchen scraps such as vegetable and fruit peelings. Live plant material and droppings from rabbits and chickens are also ideal.
Some items should NOT be added to a compost pile
These include meat, poultry, or fish; cheese and other dairy products or cooking oils. All of those will attract critters such as rodents. Don’t use noxious weeds; or plants infected with disease. I don’t recommend adding cattle or horse manure. Why? They might contain persistent herbicides which will contaminate your soil and adversely affect your plants.
And one more thing: Don’t add manure from carnivorous animals because it will contain pathogens. This is so important!
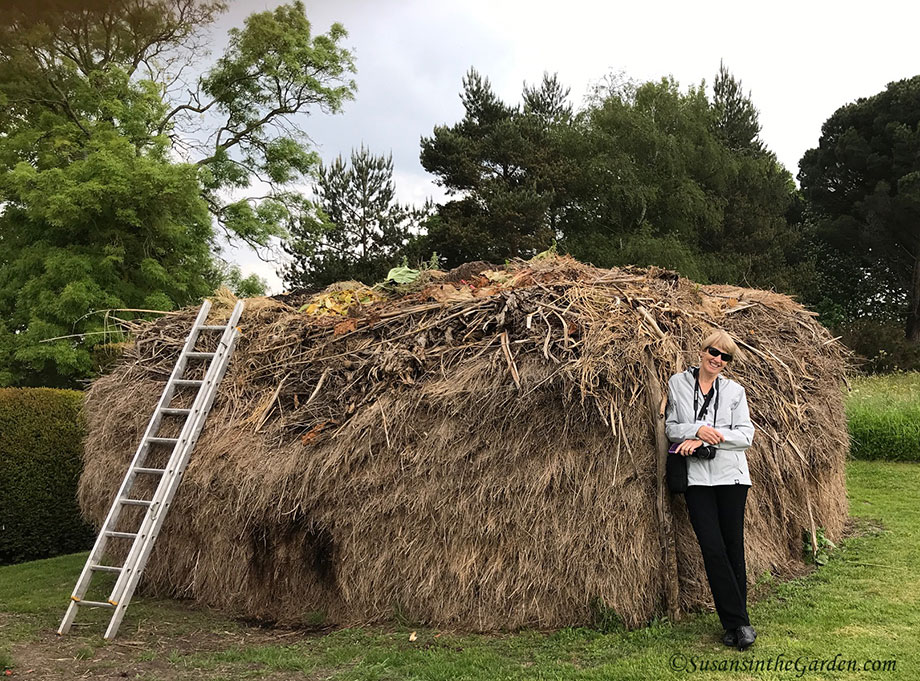
To build your compost pile, layer your green and brown materials. Try not to make the pile larger than 3 feet by 3 feet. That’s because it will be difficult to tend to and take longer to break down.
What about a closed composting system?
If you’d prefer to use a closed composting system, there are a lot of options available from online sources. They are designed to be easy to turn, usually by cranking a handle. They’re also a good option if you’re concerned about visits from rodents and other types of critters.
My favorite thing to do while the compost pile is “cooking” is to monitor its temperature. We have a compost thermometer and you would be amazed at the temperature fluctuations the pile goes through. All of this is a reflection of the activity of the various microorganisms as they break down the materials.
During the process, there’s a chance you might notice a funky odor coming from the pile. This will occur if you either add too many green materials or you have gotten the pile too wet. If this happens, turn the pile and don’t water it for a while until the situation resolves.
Hot vs. cold composting
There are two methods of composting, which are referred to as hot or cold composting. With the hot method, you will need to turn the pile on a regular basis (usually once a week). You’ll also occasionally add a bit of water if the pile is dry. The pile contents should contain the small amount of moisture as you’d expect to feel in a wrung-out sponge.
Cold composting is a hands-off approach. You build the pile and let it slowly decompose with no additional help on your part. Unfortunately, it takes a lot longer to produce a finished compost (about a year or two). It’s all a matter of how much time you want to devote to the compost pile. And, of course, how quickly you want results.
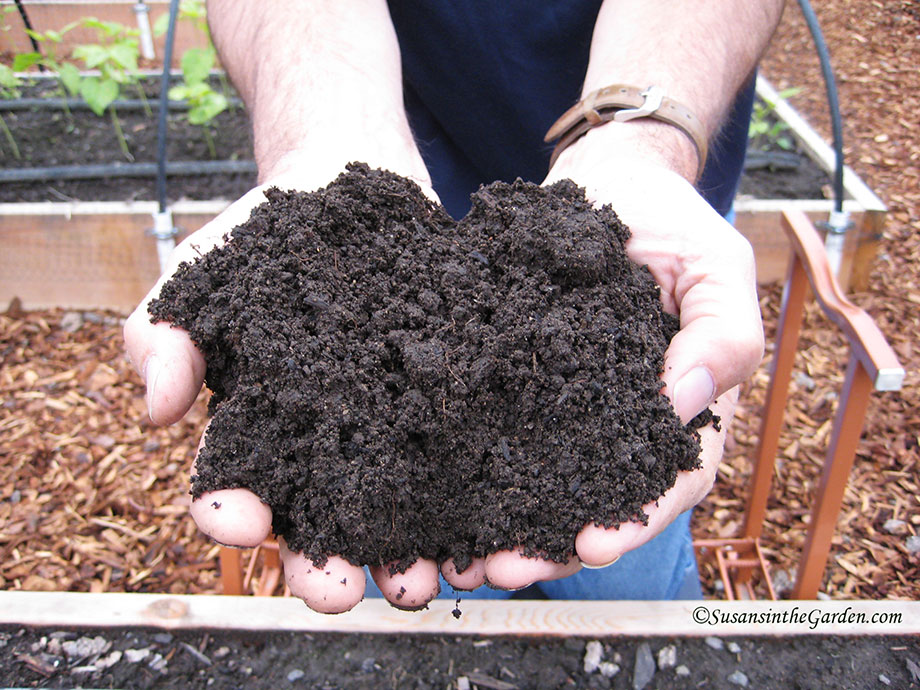
How do you know when it’s finished?
Finished compost will be light and crumbly. It will smell good, and you won’t be able to recognize any of the original materials.
How much compost should you add to your garden? I place an inch or two on the soil surface in each of my raised beds in spring and fall. It isn’t necessary to turn it into the soil. The nutrients will move down into the soil all by themselves.
Making your own compost isn’t difficult and it makes such a great organic amendment!