Hoop house project
My husband, Bill, and I just finished building a hoop house in our vegetable garden. Our goal is to grow veggies through the fall and winter months. A hoop house is a greenhouse that is covered with plastic rather than glass or polycarbonate panels.
We wanted to create a structure that would cover two of our 3’ x 8’ raised beds plus the pathway. During the colder months of the year, those two beds will be used for growing cold-tolerant greens and other crops. In the spring and summer months, I’ll grow a few warm-season crops like tomatoes, cucumbers and melons. That will give them an environment that will encourage great productivity.
We wanted to build something that would be sturdy enough to withstand strong winds and heavy snowfall. It also needed to be light enough for two to four people to pick up and move. That’s because we rotate our crops each year to reduce any problems with insects or disease.
Here is a video slide show of the project. (please note that the address for my blog at the end of the video was for my old blog! SusansintheGarden.com/blog/ is the correct address)
Here is more detailed information on the steps we went through:
Supply list:
(4) 10-foot-long 2x4s (untreated)
(1) 10-foot-long 1×4 (untreated)
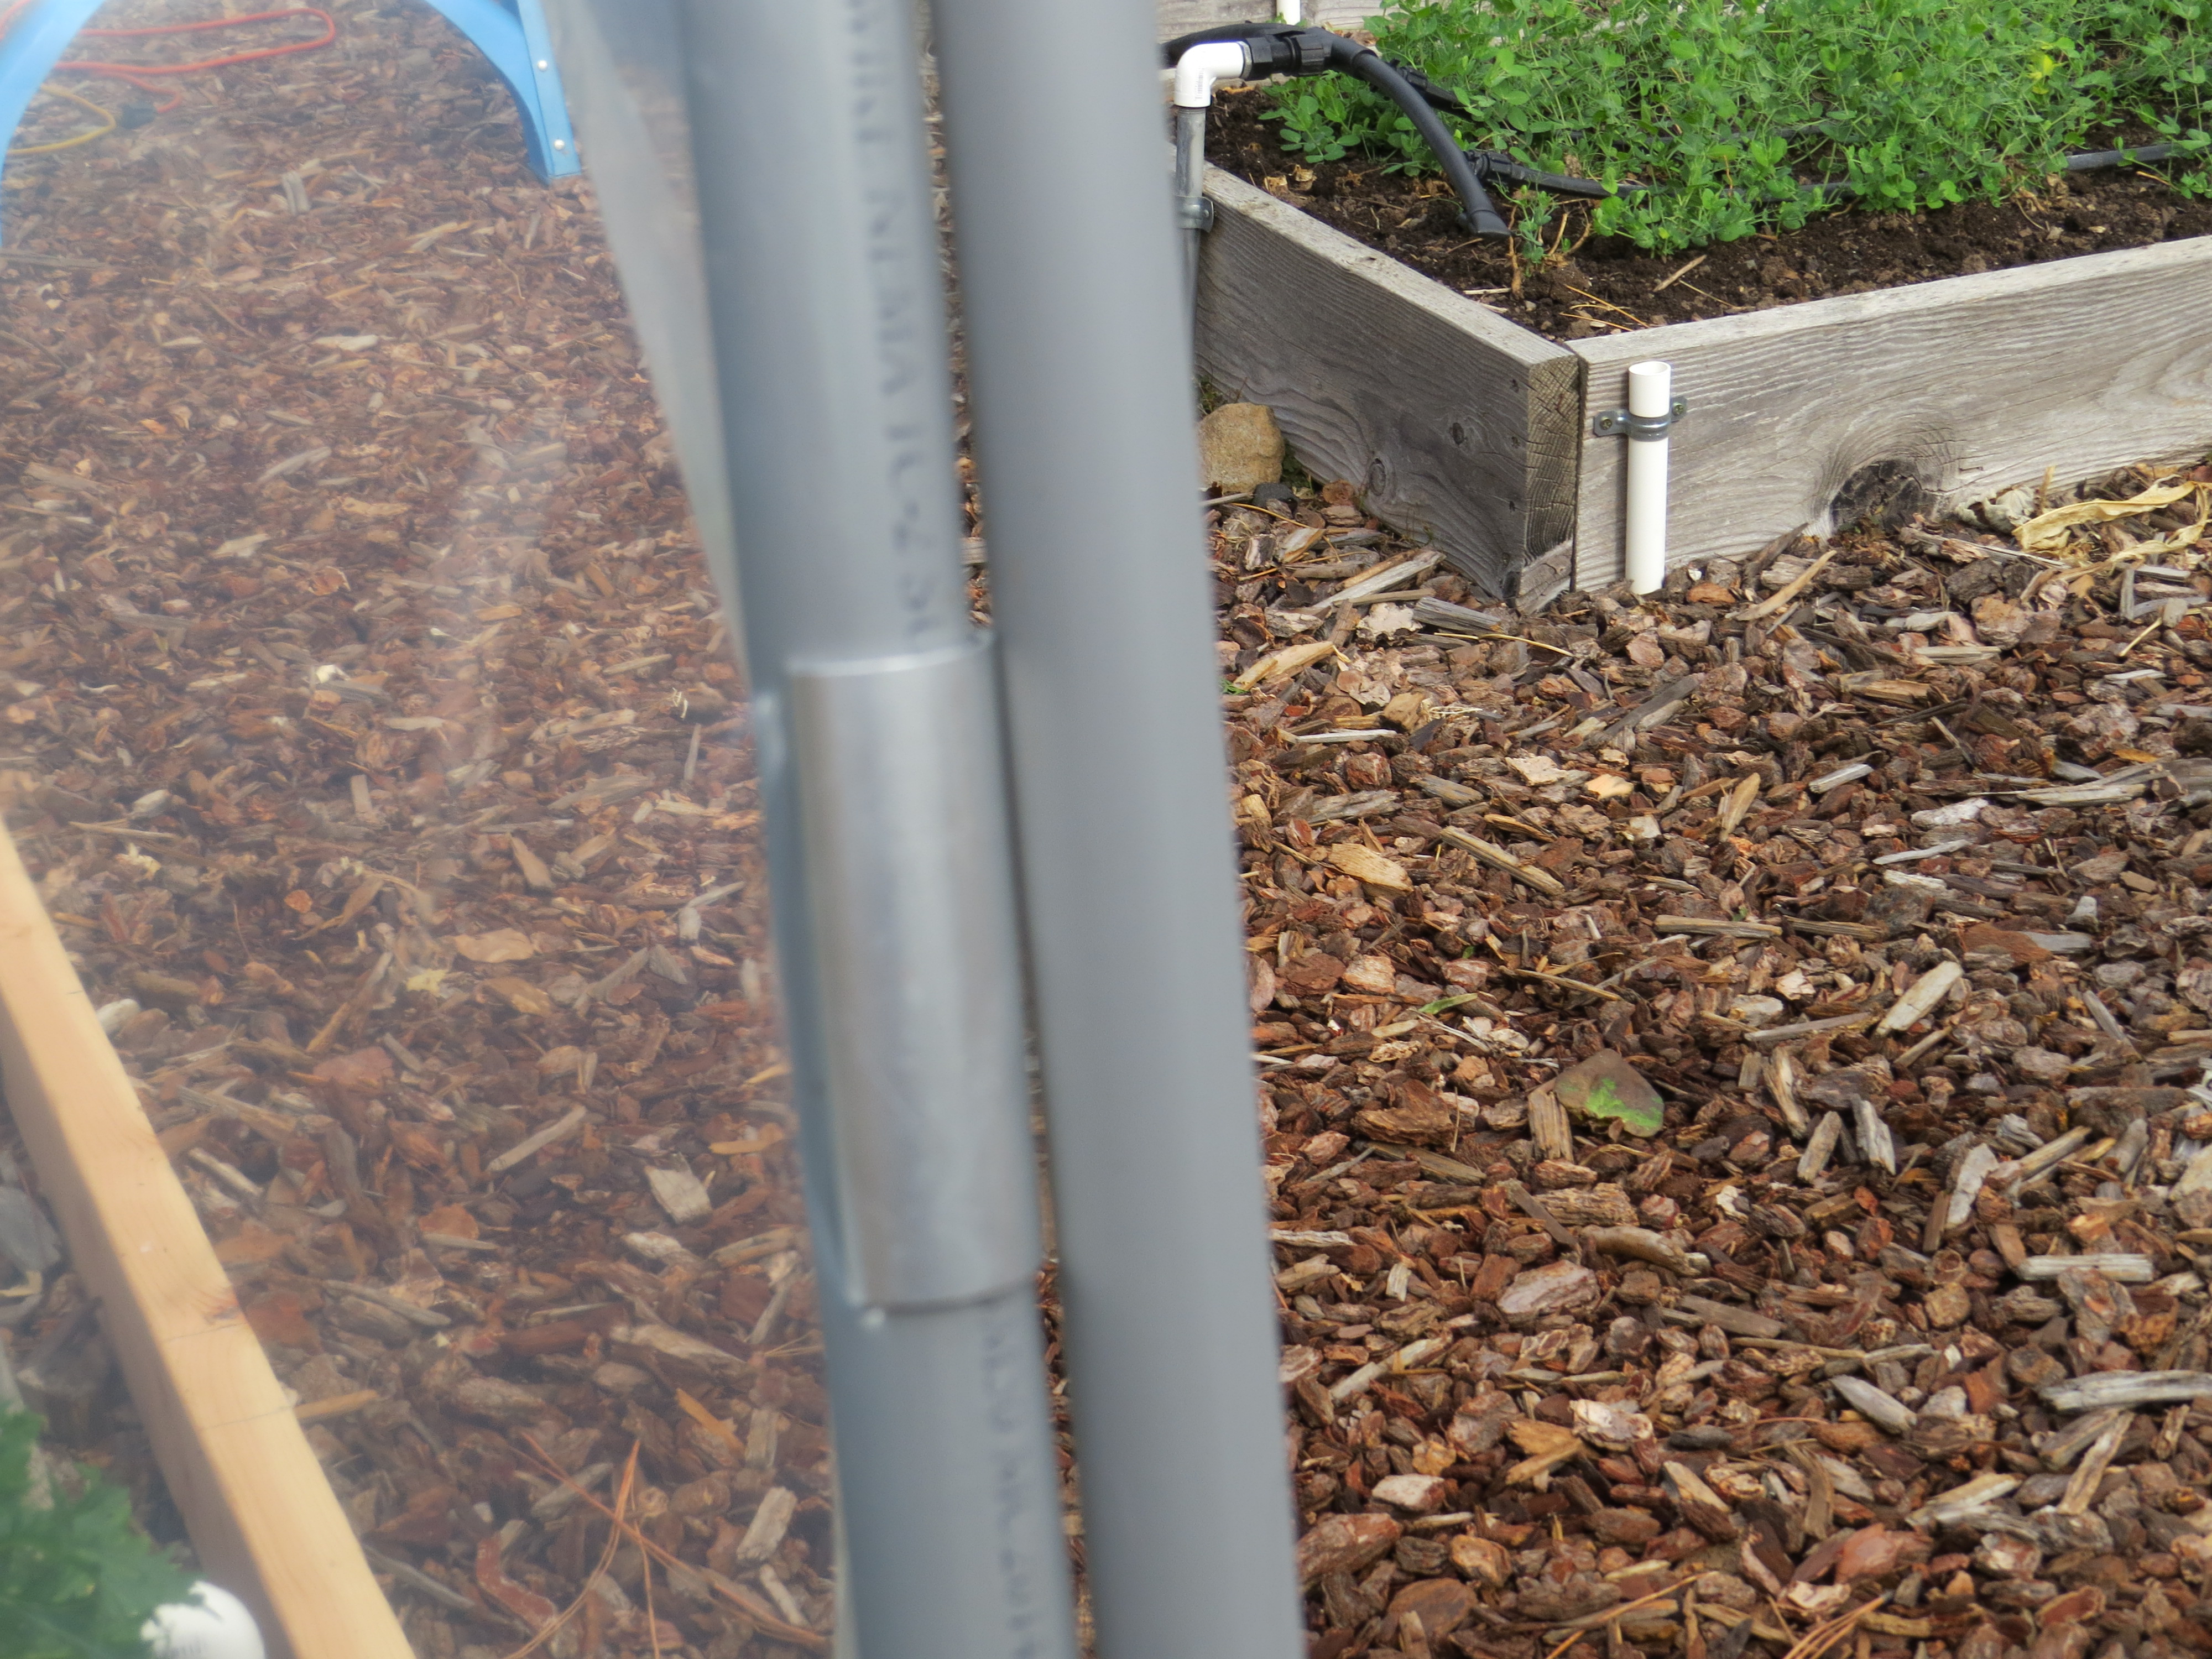
(16) 10-foot-long pieces of Schedule 40 electrical PVC conduit with an outside diameter of 1.05” (please see UPDATE at the bottom of this supply list!)
(3) 10-foot-long metal conduit
screws and washers
6-mil greenhouse plastic (10 feet wide by 40 feet long) *
40 aluminum greenhouse film clips *
supplies for building a door (2x4s, 2 door hinges, 2 door latches, etc.)
(1) bundle of 4-foot-long wooden lath
UPDATE as of February 2021: We have recently learned something important. Greenhouse plastic will deteriorate more quickly if it’s in direct contact with the PVC conduit we used for our hoops. Our first plastic covering lasted for nearly 7 years, which is great. But we noticed that the areas that had disintegrated the most had been touching the hoops all that time. After some research, we’ve learned you can prevent this problem (or at least delay it). How? By painting the PVC hoops before applying the plastic cover. We plan to re-cover the hoop house this spring and definitely intend to paint the hoops first.
_____
* = purchased from an online greenhouse supplier
The materials for this project cost about $200.
Our hoop house is 10 feet wide by 9 feet long. The base of the structure is made from 2x4s, with the hoops screwed onto them.
Each length of electrical conduit has a straight end and a flared end. This enabled us to use two lengths of conduit to create each of the six main hoops. Plus an additional 2 hoops for the construction of the front wall and the back wall. We actually trimmed our conduit a bit, to decrease the height of the hoops. They are tall enough (about 6 1/2 feet at the highest point) for a person to stand underneath.
Before connecting each pair of conduit lengths, Bill pre-drilled holes near the bottom of the straight end of each one. The holes are at 1” and 2 1/2”. That will make it easier to attach the hoops to the 2×4 base on-site.
Bill calculated that the hoops would need to be about 20” apart (20 3/4” to be precise!). He marked those spots along the 2x4s that would be on the sides of the hoop house. That way, he could easily locate where the hoops would need to be attached.
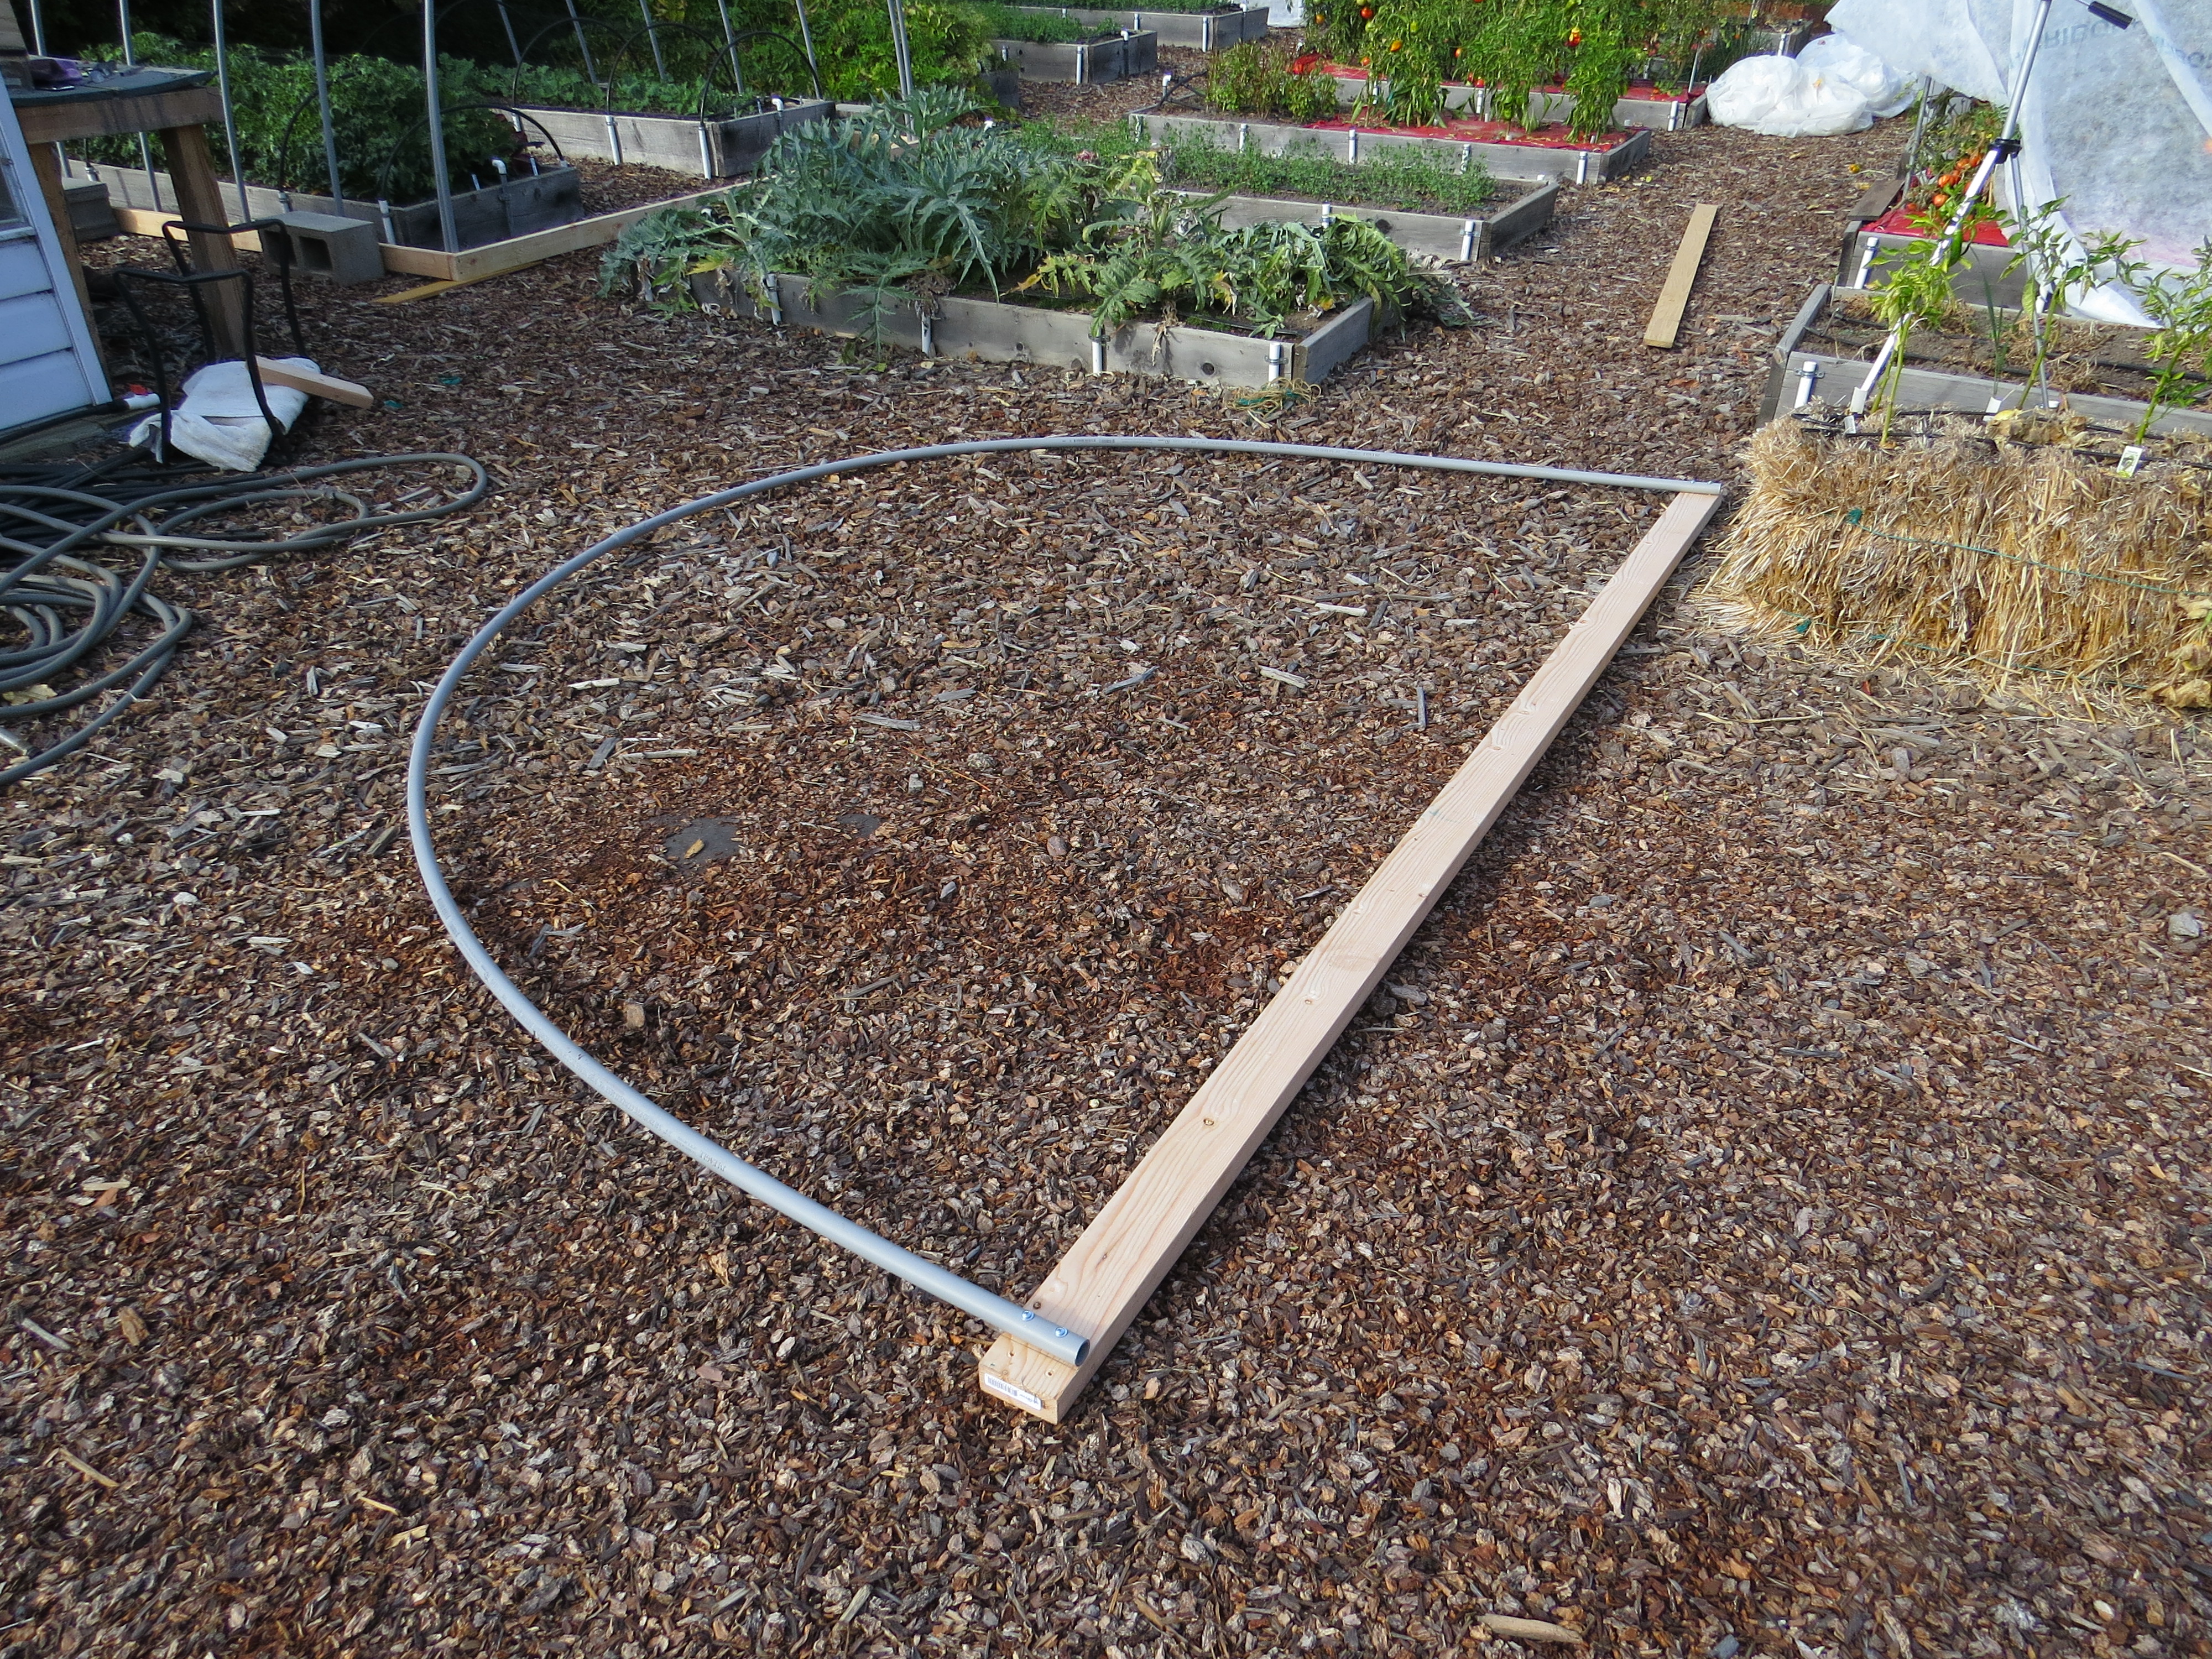
Then we were ready to connect a pair of conduits for the first hoop. None of the hoops are glued together; Bill didn’t feel it would be necessary.
| ||
| Photo #2 |
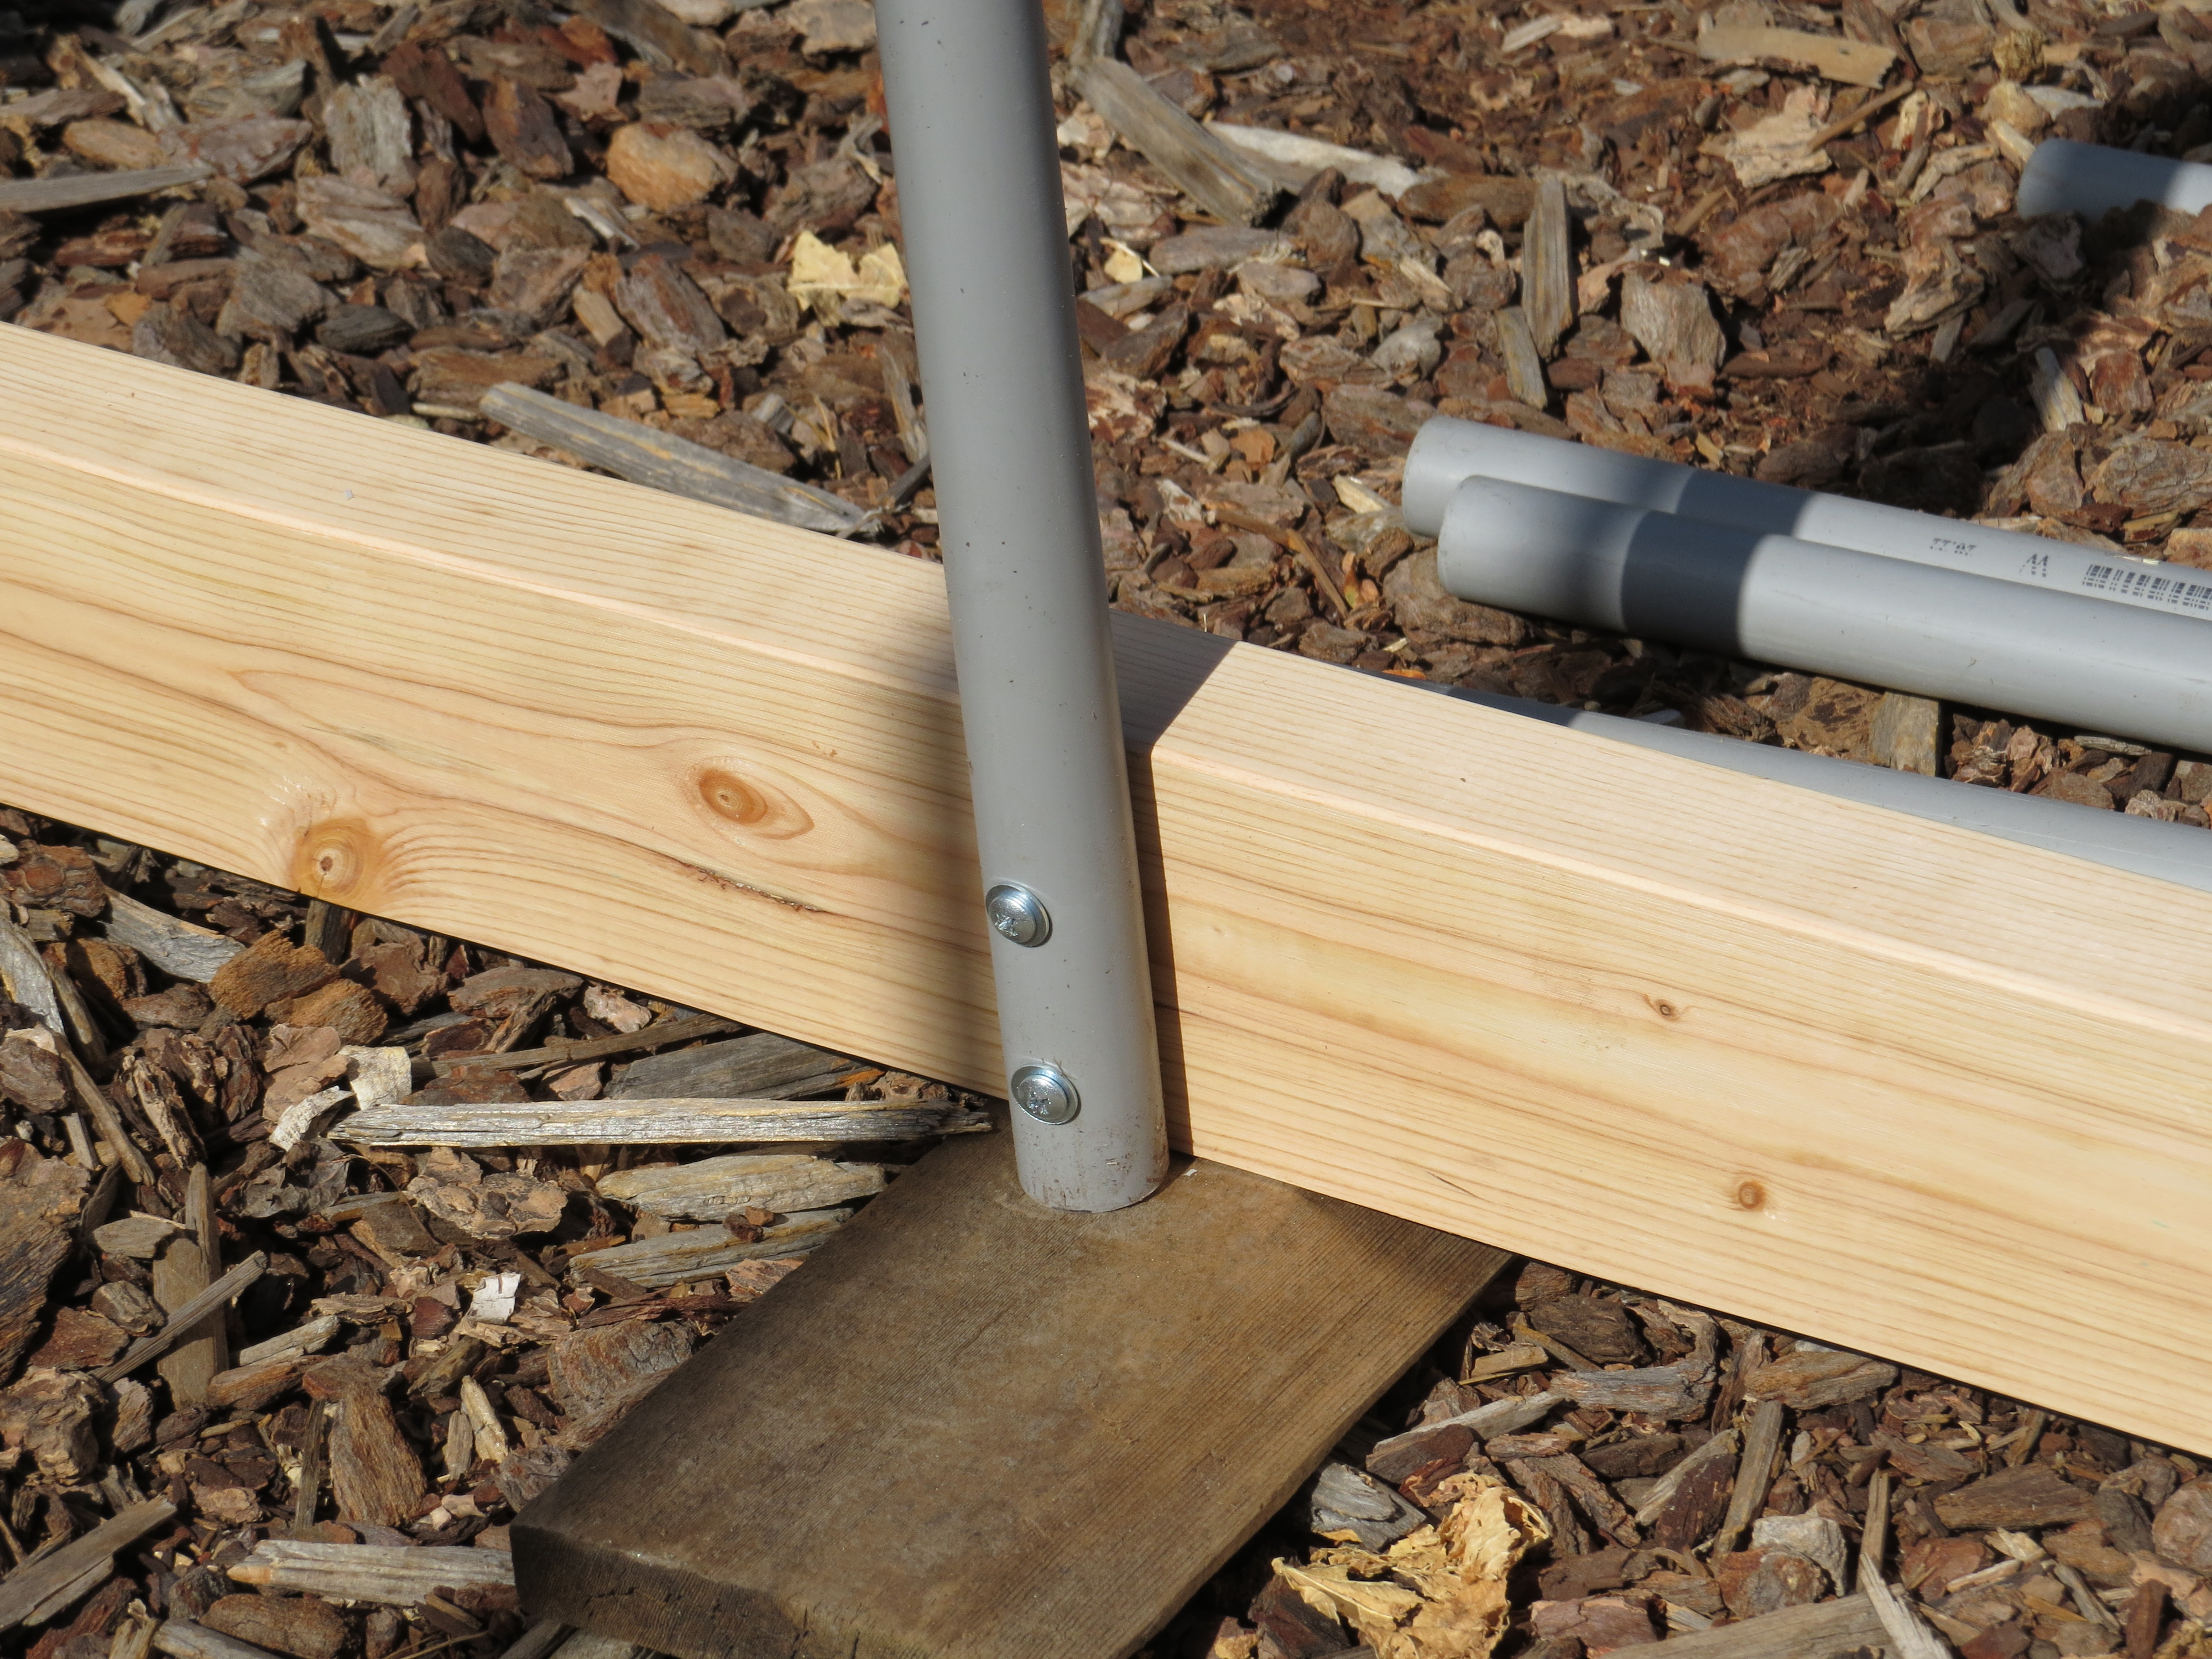
We connected the pieces in a straight line, then physically bent them into a hoop. Bill screwed each end onto the 2×4 base (photo #2). The conduit really isn’t hard to bend at all.
Once the first hoop was up, we moved onto the next hoop, repeating the previous steps.
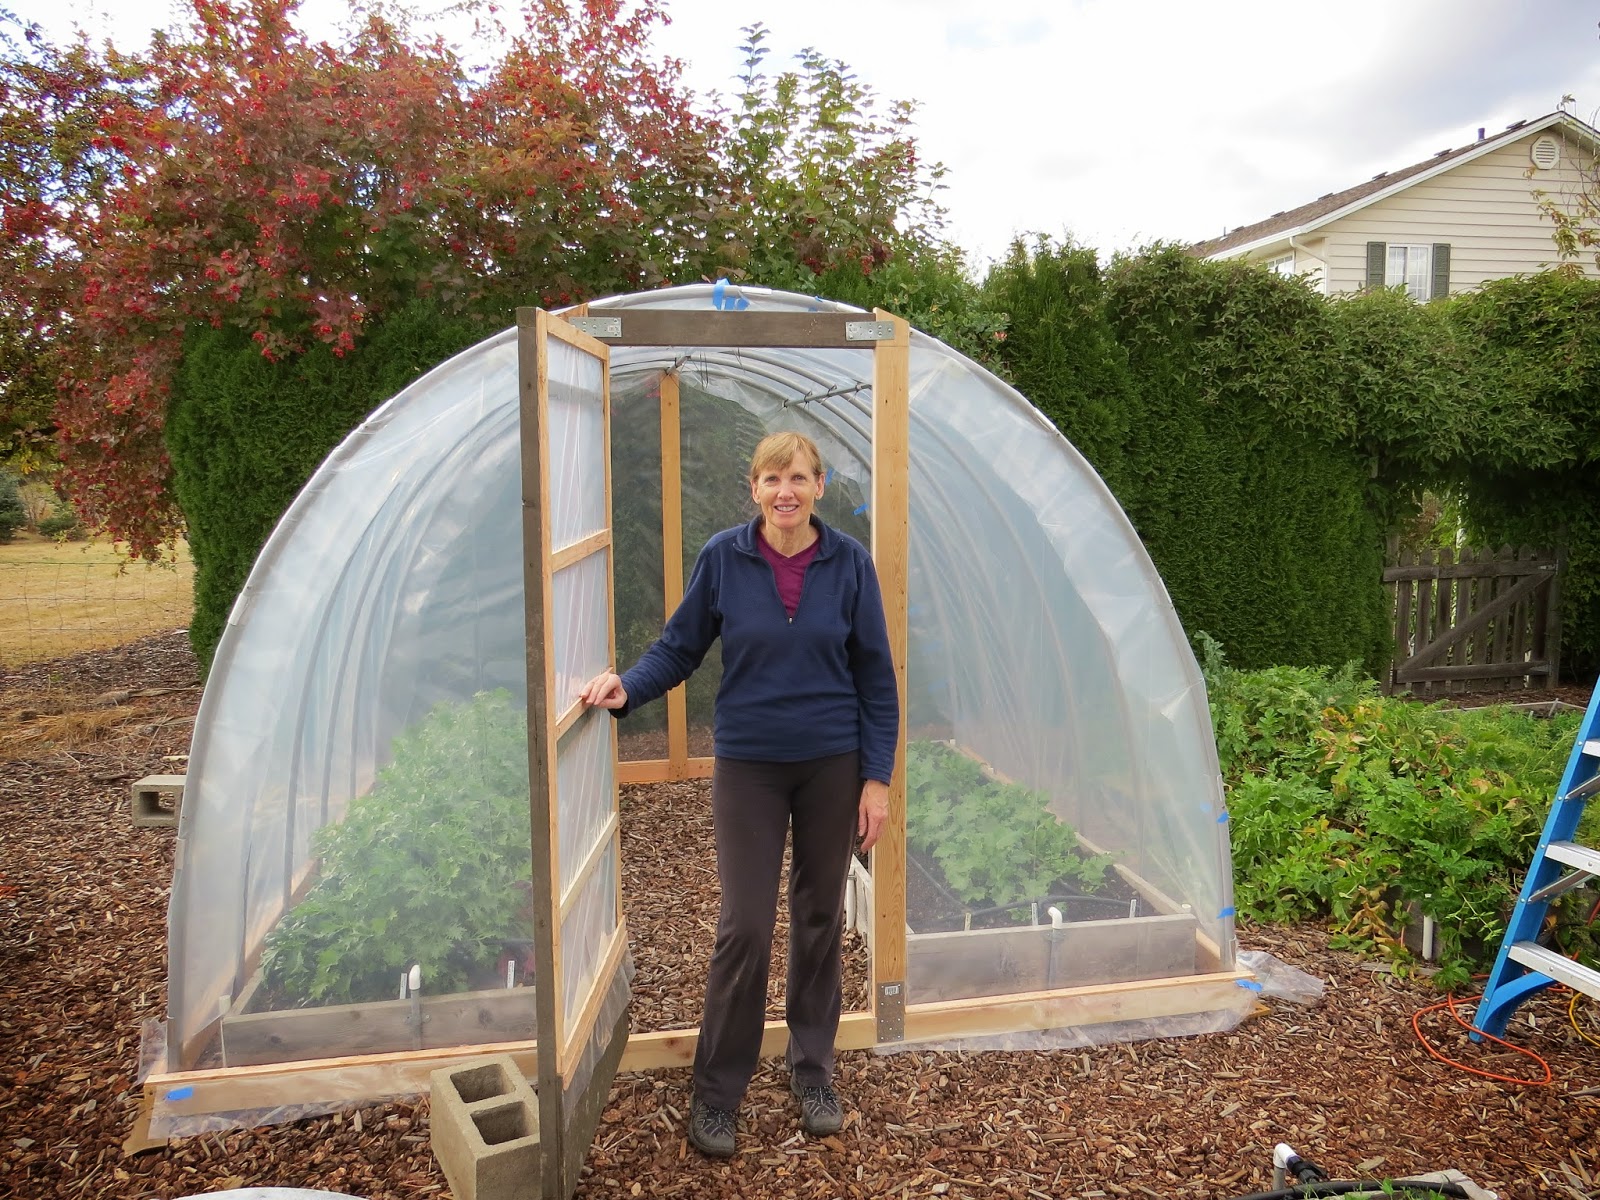
Once all six hoops were in place, we created our two end pieces. This involved using the two remaining 10-foot-long 2x4s and screwing one hoop onto each one. At that point, we attached one of the 2x4s to the front of the hoop house. The other was for the back of the hoop house (photo #3).
 |
| Photo #3 |
Just to clarify, the 1st hoop (at the front) and the 6th hoop at the back were doubled up so we could create the front and back walls.
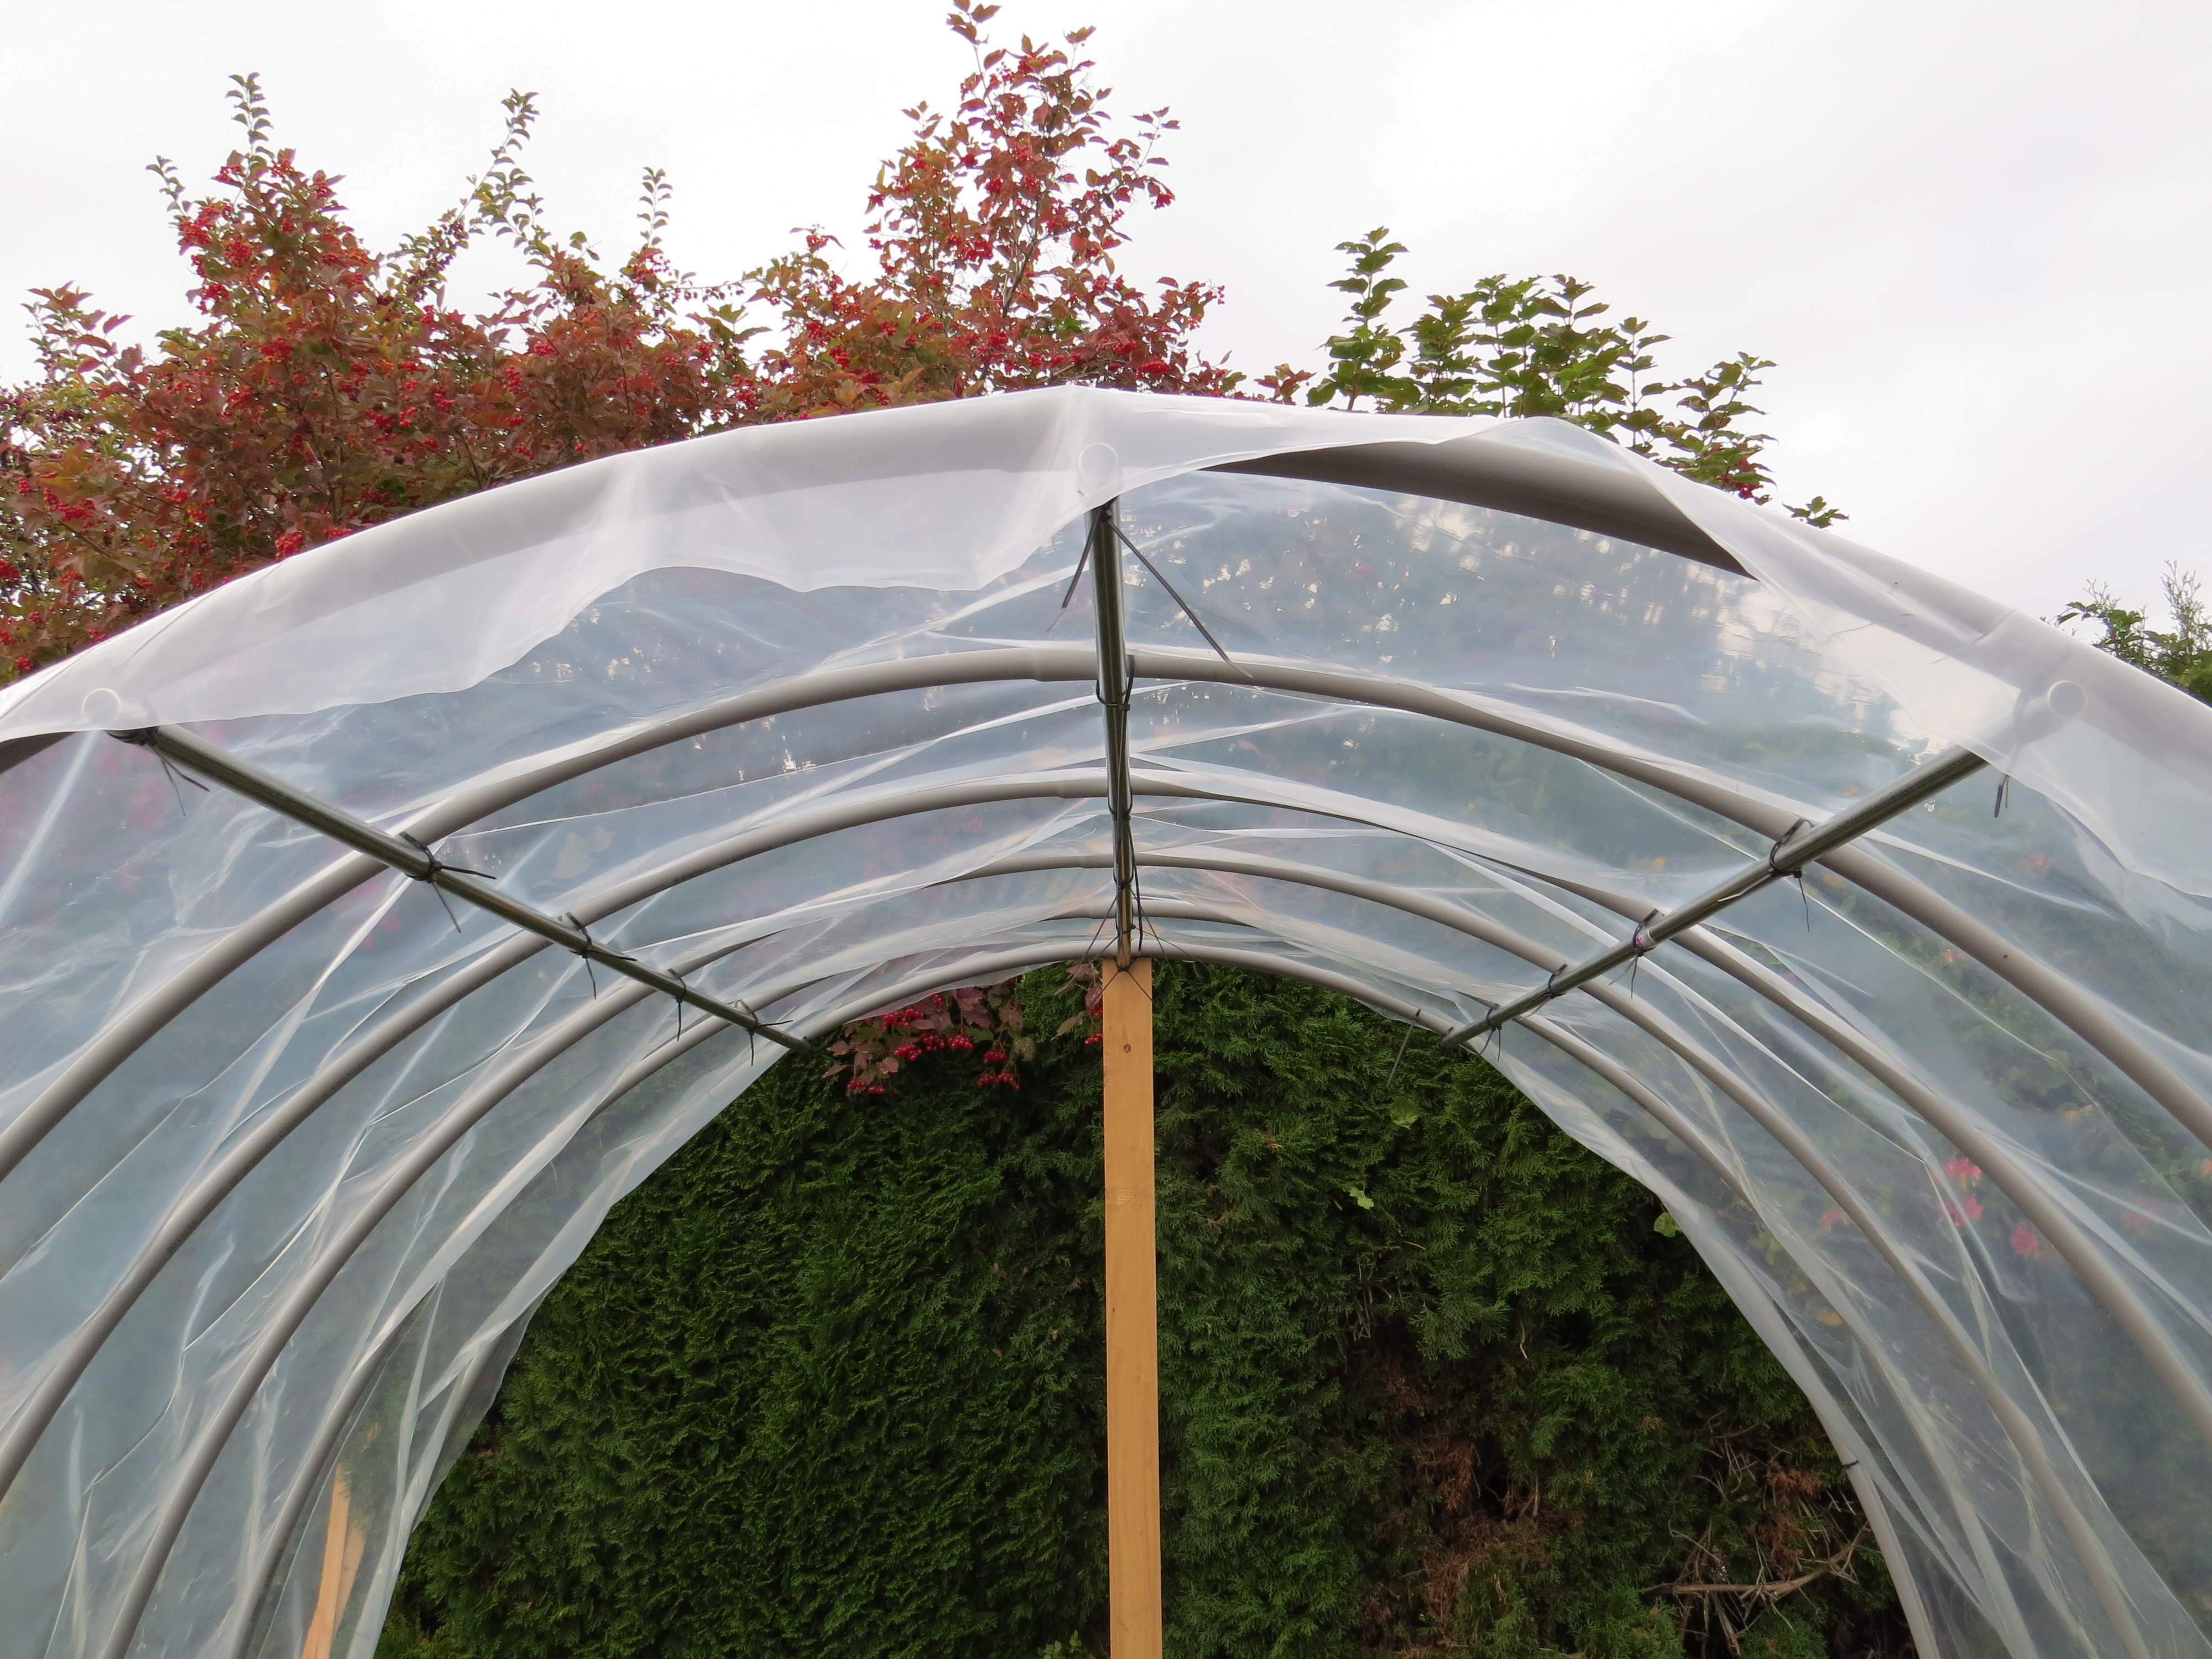
Bill then attached a 1×4 board vertically at the center of the back wall and screwed the bottom end to the 2×4 base. At the peak of the structure, he attached one of the 10-foot-long pieces of metal conduit to the top center of each hoop, using black zip-ties (he attached them in an “X” pattern to secure the conduit). This metal conduit was used to increase the strength of the structure by holding the hoops together.
UPDATE: Paint the PVC conduit before you apply the plastic! (refer to information at the bottom of the supply list, where it says “Update.”
Next, we attached the greenhouse plastic. Even though it would have been cheaper and easier to buy regular clear plastic, we went with 6-mil greenhouse plastic that is UV-resistant and guaranteed for four years. After all, we want it to last as long as possible, right? We bought a 10-foot-wide roll of plastic from Farmtek, which is an online supplier, and paid by the linear foot.
 |
| Photo #4 |
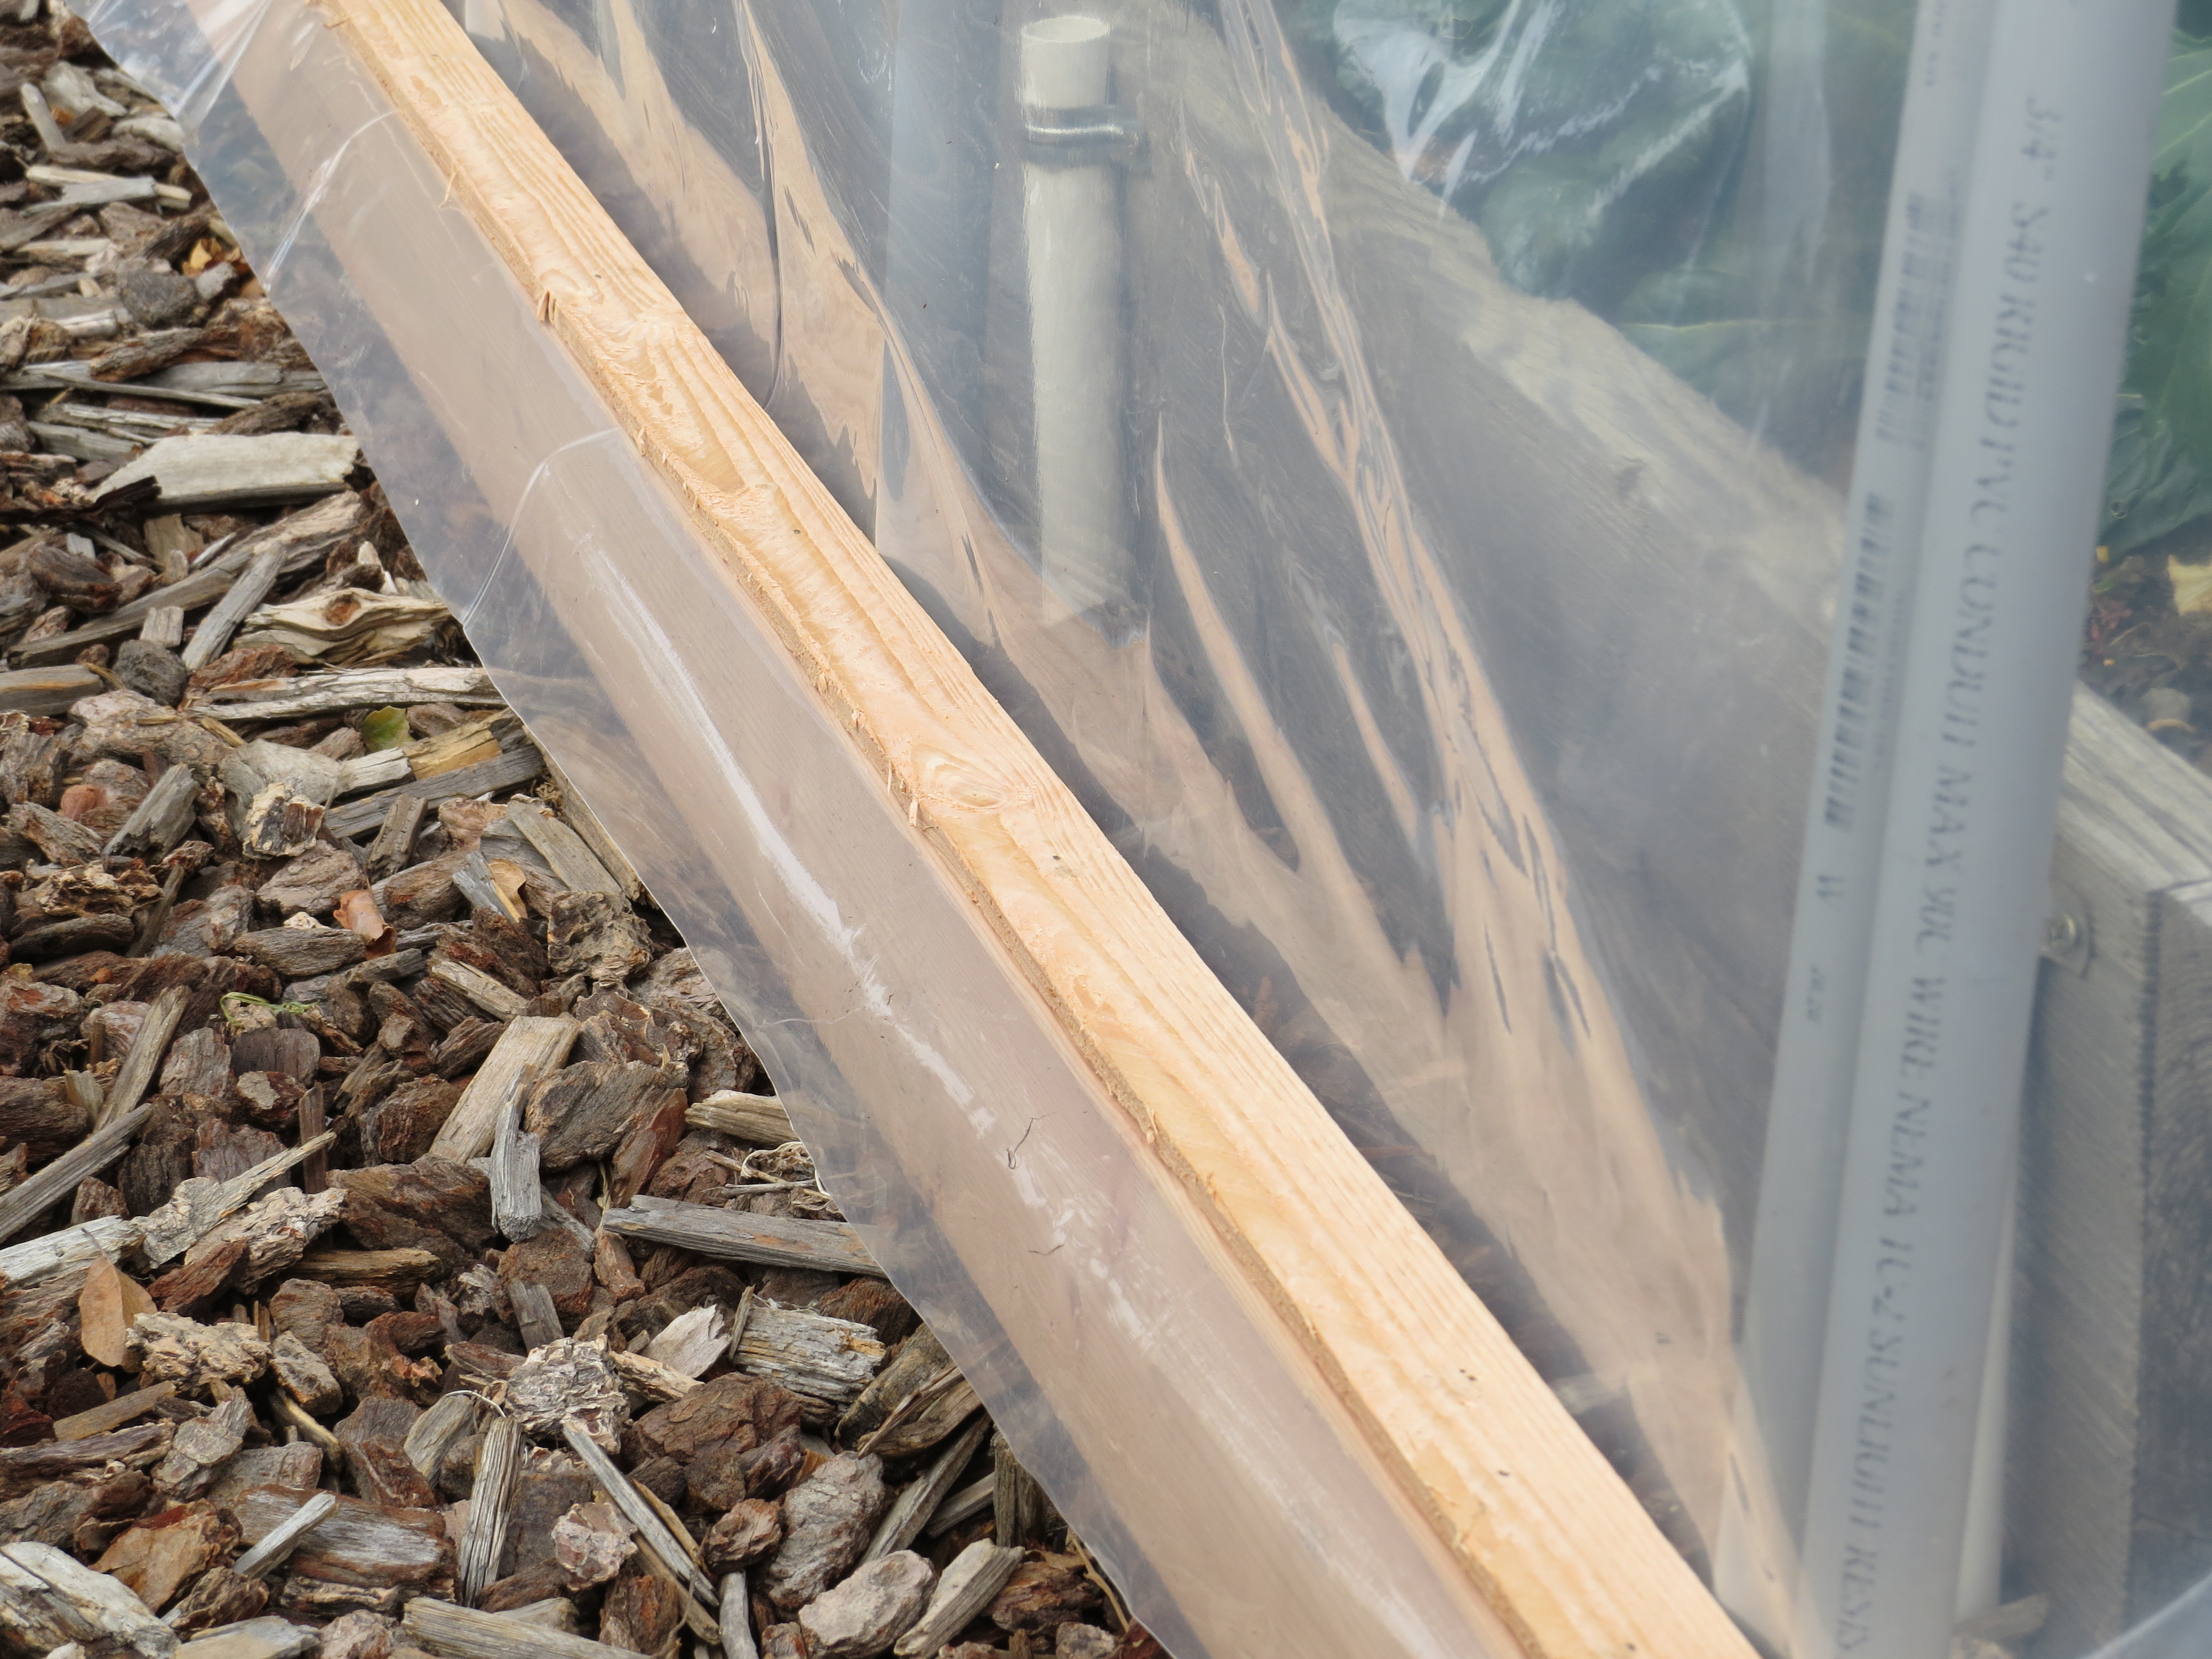
The first part we covered with plastic was the main part of the hoop house. It wasn’t difficult to open the plastic and lay it over the top. Making sure the plastic centered over the top of the hoop house, we set about anchoring the plastic along one side by placing a length of lath on top of the 2×4 base and using a small nail-gun to attach the plastic (photo #4). We felt that if we just staple-gunned the plastic without any extra support, the plastic could easily tear. Using the lath protected the plastic. We used this method to anchor the plastic along one side, then went to the opposite side and pulled the plastic fairly taut.
 |
| Photo #5 |
Then we used aluminum clips (photo #5) to attach the plastic to the PVC conduit. Now that part was a bit tricky! While the clips are quite ingenious and should work well, one has to really push to get it to snap over the conduit and if you don’t angle it quite right, a corner of the clip can poke a little hole in the plastic. We were very careful putting them on, let me tell you. The clips should be spaced about 2 feet apart for best results.
We then anchored the plastic on the opposite side using lath on top of the 2×4 base. (This method would later be used for the plastic on each end of the hoop house as well.)
Once that task was finished, Bill attached the other two lengths of metal conduit to the hoops, with each one being placed near the highest point of each side. On a structure, these parts are called “purlins” and their role is to increase the structural stability. He also used black zip-ties to attach them. (photo #6)
 |
| Photo #6 |
Then we attached the greenhouse plastic to the front wall so we could put the door in place. Bill salvaged some old 2x4s to make the door frame and an old wood-framed door for this. He placed hinges in the frame, hung the door and attached latches on both the outside and inside of the door frame. That way, if I’m harvesting veggies on a cold or blustery day, I can keep the door closed while I’m in there. I carefully cut the plastic around the door.
We then hung plastic on the back wall and did some very careful trimming of the plastic where the front and back walls are curved, just to get rid of some of the excess.
The last step involved screwing together the front wall to the 1st hoop for stability, and the back wall to the 6th hoop.
We probably could’ve done the project in a day but broke it up into two 3-hour chunks. Now that we know what we’re doing, we might be able to shave some time off if we ever make any more hoop houses!
I’m considering adding a bit of weatherstripping around the door and we plan to use some clear greenhouse tape to seal the seams between the front wall and the 1st hoop, and the back wall and the 6th hoop. I know the hoop house won’t be completely tight but it should make a huge difference for growing veggies inside.
(Note: we later installed a second door on the back wall of the hoop house as we use it for growing some warm-season crops like melons and peppers during the summer months. This allows for better air flow and makes it easier for pollinators to get to the plants.)
Stay tuned to this blog for updates on how everything is doing and also what we’ve learned along the way. As you can imagine, we’ll think of better ways to do this but we had to start somewhere, right?
Thanks for your interest in this project.