Column: Lavender Project
For today’s garden column, I wrote about the lavender project Bill and I have undertaken. In it, you’ll learn how we are propagating new lavender plants in an effort to keep our patch looking good.
As I mention in my column, I’ve been having fun learning how to propagate different types of plants from cuttings this year. I hope you’ll enjoy reading about it.
Column:
by Susan Mulvihill
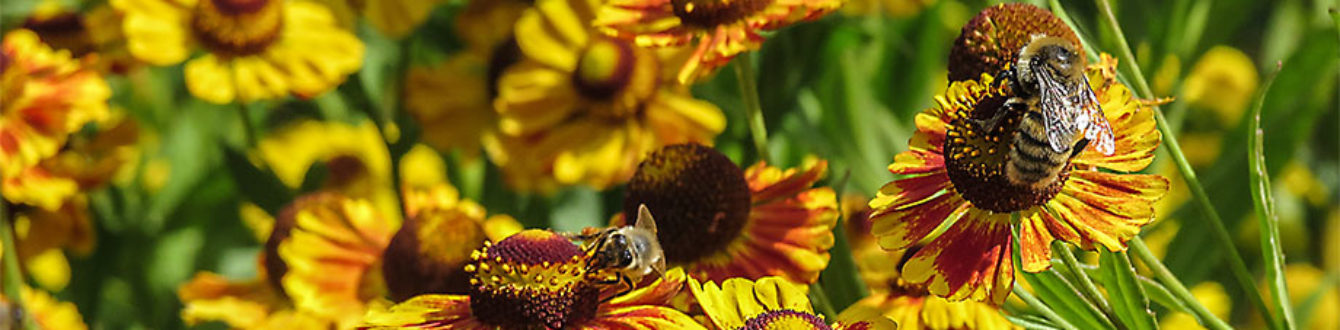
Do you have lavender plants in your garden? If so, how are they looking? It turns out that some local gardeners’ lavender isn’t doing very well after our very tough winter.
The history of our lavender field
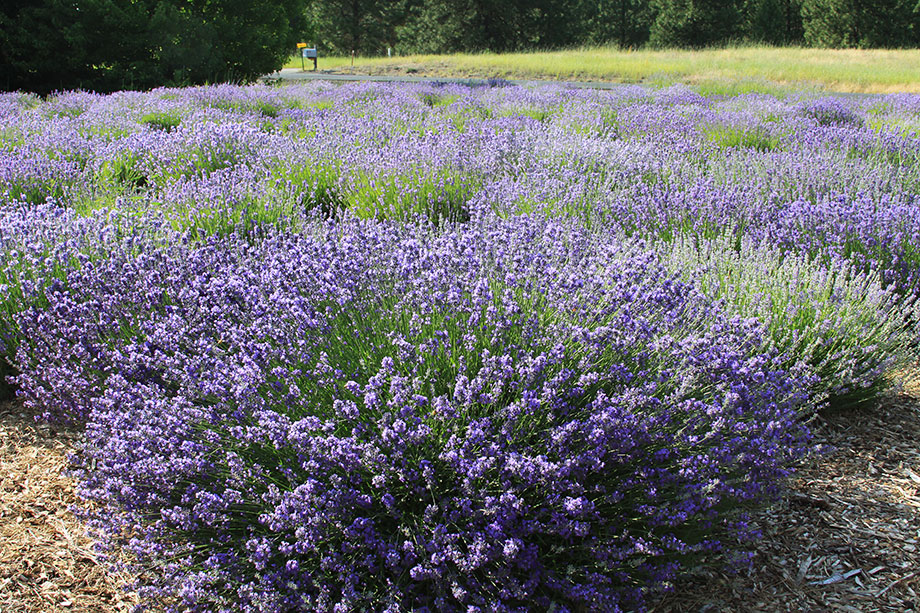
About 20 years ago, my husband Bill and I planted 300 lavender starts on the west side of our driveway. That area previously had been bare and rather unappealing. We knew that it was important to choose plants that met four criteria. They had to be attractive, drought tolerant, deer resistant and low maintenance.
Lavender fits those criteria so we bought 300 hardy, bare-root Munstead English lavender plants. We immediately planted them and didn’t lose a single one because we watered them regularly for the first two years.
It’s a common misconception that drought-tolerant plants don’t need to be watered at all. But all drought-tolerant plants require water while they’re becoming established in a landscape.
Within a couple of years, the plants started putting on a lovely show each June. That was much to our delight and that of our neighbors and passersby. Everyone asked if we had gone into the lavender business but we really just wanted easy-care plants.
Fast-forward 20 years: our beautiful patch isn’t so beautiful anymore. And it’s not just because of that cold winter. We recently learned that lavender plants look their best for about 15 years so they’re now on borrowed time. Bill trims them back in late winter, but there is a lot of dead wood within the plants. Now what do we do?
The lavender project starts to take shape
I enjoy watching the British gardening program called “Gardener’s World” and frequently hear the host, Monty Don, mention how simple it is to take cuttings from various plants such as shrubs, perennials – and lavender, of course. What a great way to get free plants.

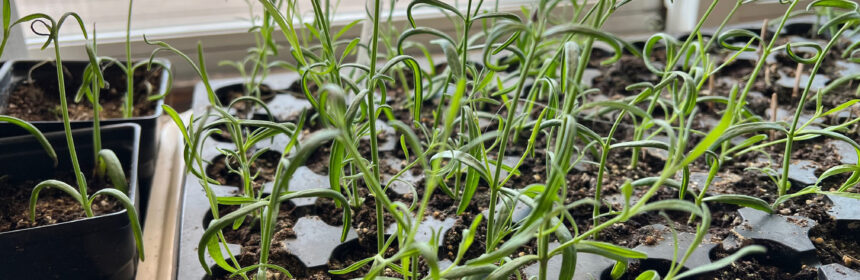
There’s no time like the present to learn new skills so we decided to give it a go and try starting about 100 plants. First, we filled a 72-cell planting flat and a few pots with moist seed-starting mix so they would be ready.
Then we headed out to the patch to get our semi-ripe cuttings (Don explains this as new shoots that have been on the plant for about a month). The goal is to select tender, green shoots that don’t have flowers on them. That proved to be a challenge because a lot of the shoots already had a tiny bud. We immediately put the cuttings into a plastic bag to prevent moisture loss.
The next stage involved preparing and planting each cutting. This requires stripping off the lowest few pairs of leaves (also to reduce moisture loss), very carefully snipping off those tiny buds, then dipping the lower tip into a rooting hormone. This product stimulates root growth and is easy to find at garden centers.
At that point, we used a chopstick to create a cylindrical planting hole, placed the cutting into the seed-starting mix and gently pressed the mix around each one. Once all were planted and watered in, we covered the planting flat with a large clear plastic cover and put it in an area with indirect light.
We took the cuttings a few weeks ago and so far most of them look good. It generally takes about a month for roots to develop. I am hopeful our efforts will pay off and am excited to try my hand at propagating other plants in our garden.
Susan Mulvihill is author of “The Vegetable Garden Problem Solver Handbook” and “The Vegetable Garden Pest Handbook.” She can be reached at Susan@SusansintheGarden.com. Watch this week’s video at youtube.com/susansinthegarden.