
Planting Cover Crops
If there’s something I hate to see in my garden, it’s an idle bed. If there isn’t a crop growing and producing in it, something should be improving the soil fertility in that bed. Cover crops will do exactly that. Each time a crop is finished, I like to replace it with one of them.
What are cover crops?
They are typically members of the legume or grass families that will do one of two things. They’ll either fix nitrogen in the soil or create biomass that can be worked into the soil to increase nutrients.
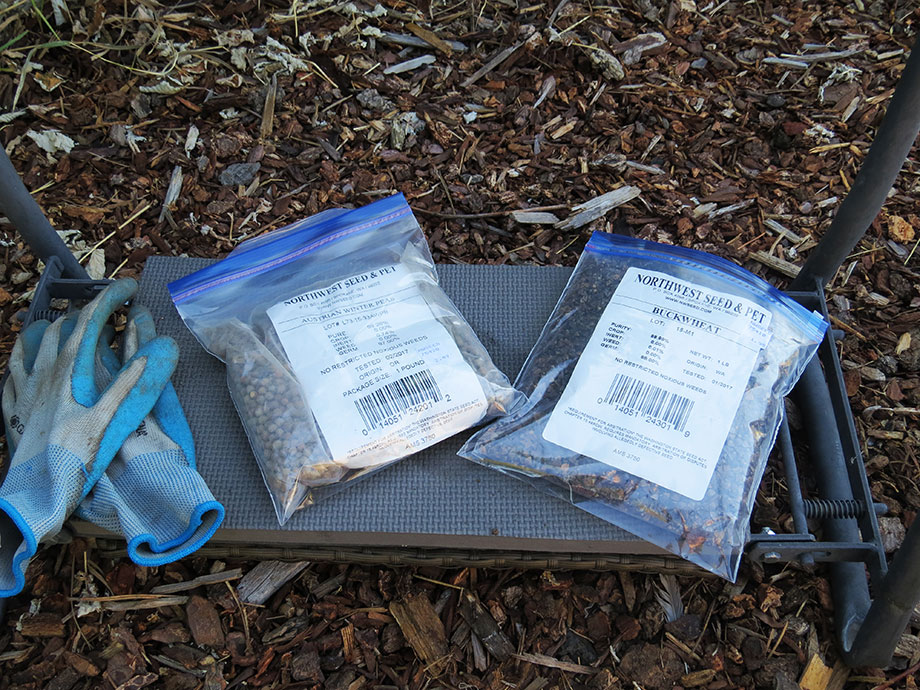
My two favorites are Austrian field peas and buckwheat. If you live in the Spokane area, you can find seeds at Northwest Seed & Pet. For those of you who live elsewhere, check your local garden center or look online.
We recently moved our hoop house to its new location in the garden after emptying out the beds. We had been growing peppers and eggplants in it. After harvesting the last of those crops, I had empty beds. You’d better believe I thought of cover crops immediately!
Here’s the process you go through to plant cover crops:
Step 1
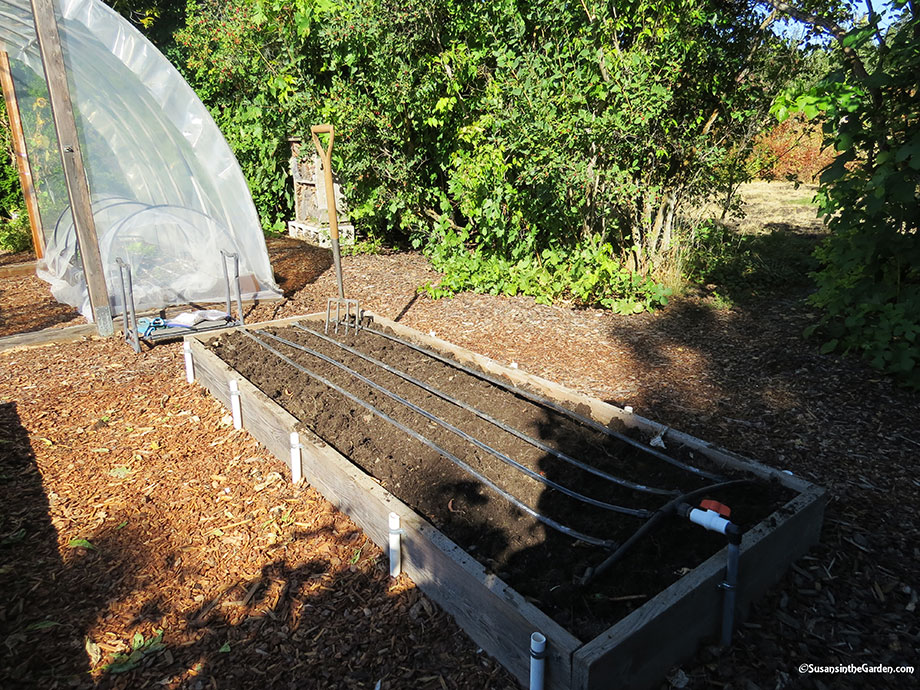
Gently loosen the top couple of inches of soil within the bed (top photo). I try really hard not to disturb the soil much because I don’t want to damage its structure. There were large root systems from the peppers and eggplants in the beds so I gently pulled them out first. You don’t need to turn over the majority of the soil.
If you have a drip irrigation set-up or soaker hose for the top of the bed, hook it back up.
Step 2
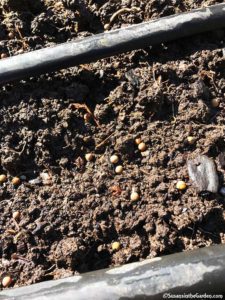
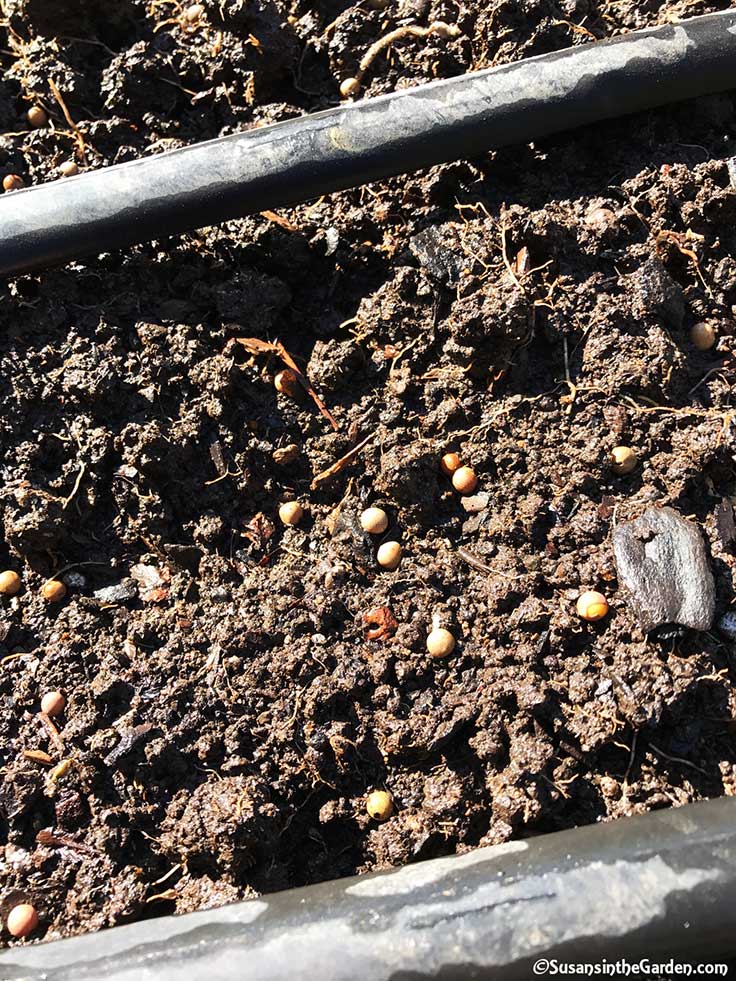
Sow your seeds. I am pretty generous with the seeds. Although if you’ve read about how to plant microgreens, I don’t plant cover crop seeds anywhere near as heavily! I’ve included a close-up of some of the Austrian field pea seeds, so you can get an idea. The great thing is that you don’t need to cover the seeds. I’ve been using cover crops for a few years and find they germinate just fine.
Step 3
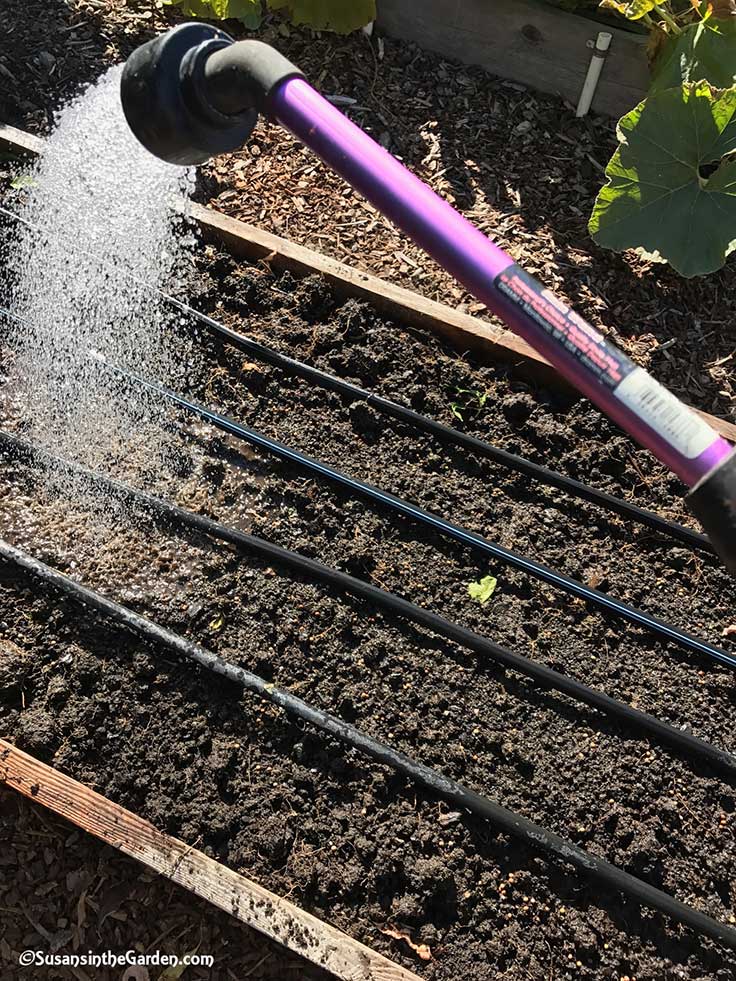
Now it’s time to water them in. That will help with germination and allow the seeds to make good contact with the soil. For best results, water the seeds daily for 4-5 days. Even though I have a drip irrigation on the top of the beds, the hand-watering is necessary because our set-up is more for rows of plants, rather than seeds that have been broadcast over the surface of the entire bed.
Step 4
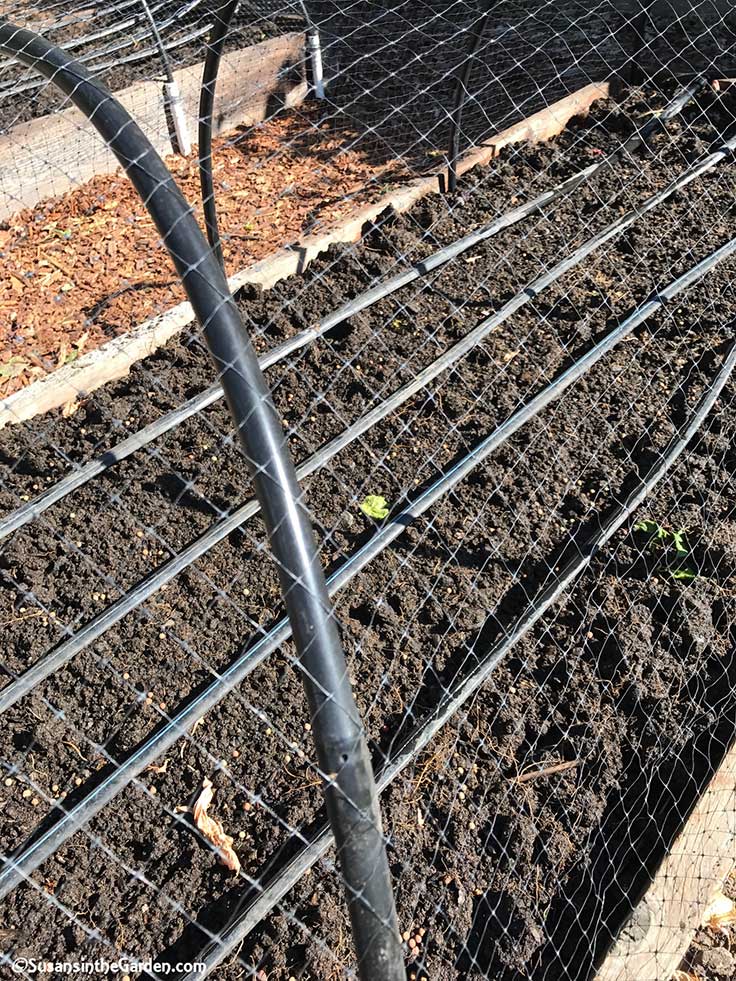
You might not need to to the last step but, because we have a lot of birds in our garden (esp. hungry quail), I cover the beds with bird netting for the first few weeks (refer to photo at left). That way, the quail won’t nibble to their hearts’ content on the newly-sprouted seeds. Once the seedlings are several inches tall, it’s safe to remove the netting.
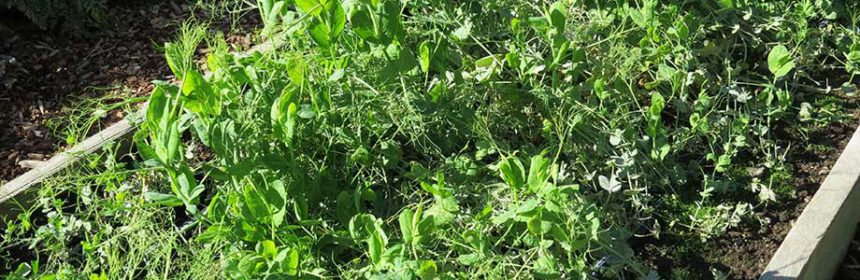
One quick note about growing buckwheat as a cover crop: I love these plants because they produce a lot of biomass (a.k.a. “greenery”). But I was warned by someone that as soon as they start to bloom, you should chop down the plants in order to avoid having them go to seed and create a bunch of volunteers for you to deal with later. So that is a rule I follow.
And one last thought: don’t worry about your cover crops getting frosted. Just leave them there all through the winter and then work them into the top few inches of the soil when you can start working with it next spring.