Column: Grow Potatoes

My third garden column for the season is about how to grow potatoes. Here in our zone 5b garden, we usually don’t plant them until about April 15. But I felt there were important reasons for writing about it now to help you be successful.
The primary focus of my column is about starting out with certified, disease-free seed potatoes. You can find them at local garden centers and from online sources.
Column:
by Susan Mulvihill
I love growing potatoes every year. They have a wonderful flavor and can be used in so many dishes. Inland Northwest gardeners won’t plant potatoes until about mid-April. However, I have some important information to share so you are ready to go by then.
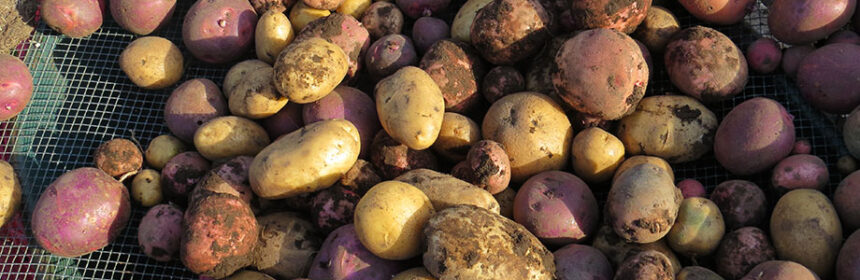
You need to start with seed potatoes. These are not tiny seeds but actual potatoes that you’ll bury in the ground. While it might sound easy to buy a few potatoes at the grocery store, this isn’t a good idea for a couple of important reasons.
Storebought potatoes sometimes are treated with growth-inhibiting chemicals to reduce sprouting. That helps them keep longer in storage but makes it difficult for them sprout and grow in your garden.
In addition, grocery store potatoes aren’t screened for diseases. Potatoes belong to the nightshade family along with tomatoes, peppers, eggplants and tomatillos. If you plant a diseased potato, it could contaminate your garden soil for years to come, which could adversely impact those crops.
What’s a gardener to do? Buy certified, disease-free seed potatoes from your local independent garden center or from a reliable online source. Both organic and non-organic seed potatoes will be available but I prefer to go with organic ones.
In the last few years, some of my potato plants have struggled with what could be a form of blight. The leaves and stems had water-soaked spots. This year, I’m going to try two new varieties that are resistant to blight, Elba and Yukon Gem. I’m hopeful the plants stay healthier throughout the growing season.
To prepare your seed potatoes for planting, you have two options. Many gardeners cut them into large chunks, with each chunk having two “eyes” (the depressions from which the sprouts emerge). It is standard practice to let the cut edges of the chunks dry out before planting them. I always worry those cut edges will be more susceptible to rotting or to soilborne pathogens. I prevent this by purchasing small seed potatoes and planting each one whole. The size I start out with will have no bearing on the size of the tubers in my fall harvest.
When planting potatoes in the ground, it’s a good idea to add some bonemeal which is a source of phosphorus. Be sure to follow the label directions. Plant each seed potato about 6 inches deep and space them 12 inches apart.
Another option is to grow them in containers or cloth grow bags that hold at least 15 gallons of potting soil. Place about 4 inches of a mix of organic potting soil and bone meal in the bottom. Set a couple of seed potatoes onto the surface and cover them with another 4 inches of potting soil. Water them in. Once the potato seedlings have grown to about 8 inches tall, add more soil; let the plants grow again and repeat this step until the container or bag is completely full. Monitor the soil moisture so it does not dry out.
It’s important to protect any potatoes developing near the soil surface from the sun’s rays. This makes potatoes turn green and promotes the development of an alkaloid called solanine; it is harmful when consumed in large quantities. There’s a simple solution to prevent this: apply a thick mulch of grass clippings that weren’t treated with herbicides or a layer of compost to the bed or container.
Susan Mulvihill is author of “The Vegetable Garden Problem Solver Handbook” and “The Vegetable Garden Pest Handbook.” She can be reached at Susan@SusansintheGarden.com.