
How To Up-pot Seedlings: Artichokes
Yesterday, it was time to up-pot my artichoke seedlings into larger containers. That’s because they can’t be planted outside until the danger of frost has passed. Here in Spokane, Wash., that’s in mid-May. I thought you might be interested in learning how to up-pot seedlings. And the steps below apply to all kinds of seedlings that you’ve started indoors.
If you’ve been following along, you know that I “vernalized” my artichoke seeds and then sowed them a little over a month ago.
What is vernalization?
Here’s what that means if you’re not familiar with the vernalization process. It involves exposing certain seeds to cold temperatures (in the refrigerator) for a couple of weeks. Do this prior to starting them indoors like you normally would. Because we have cold winters (zones 5/6), we have to grow artichokes as annuals. But the real problem is that they typically are more productive in their second year. By exposing the seeds to cold temperatures, I’m making them “think” they’ve already been through a winter. With a little luck, they should produce artichokes this year. Seed treatments like vernalization were the topic of one of my seed-starting videos. You can watch it here and then continue with the process one goes through to up-pot seedlings below it:
Here’s the point of this post. Once my artichoke seedlings developed “true” leaves (mature leaves instead of the seed leaves that they start out with), it was time for me to up-pot them and begin fertilizing them.
How to up-pot seedlings:
Fortunately, up-potting seedlings and fertilizing them are the same for any type of plant your start from seed. That’s why I thought this information would be helpful.
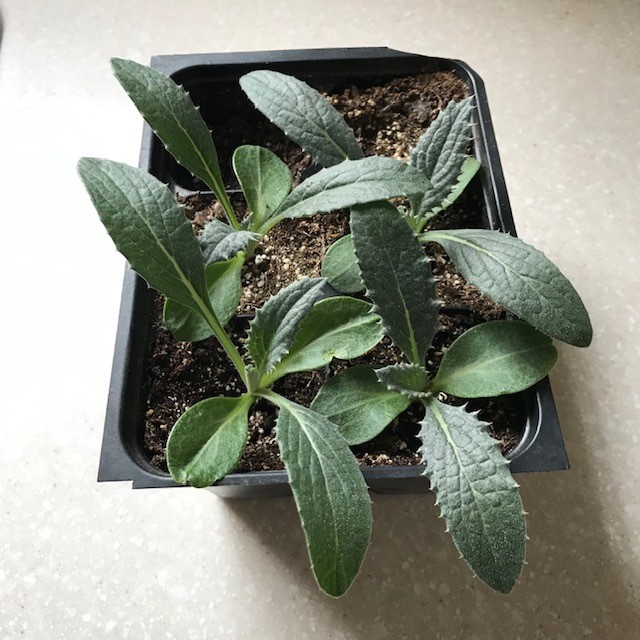
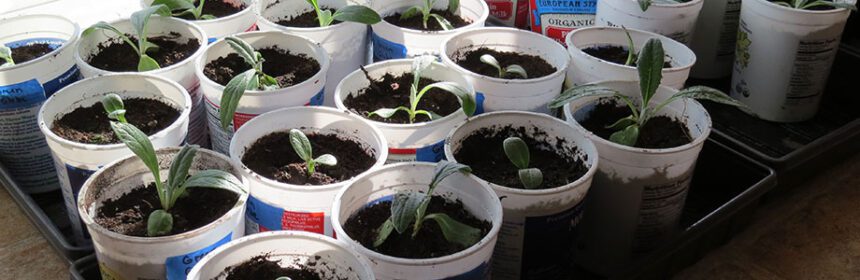
In this first photo, you can see how I started the artichokes in a small “pony pack.” You can also see their prickly true leaves. Certain artichoke cultivars have some particularly lethal thorns or spikes on their leaves but these ‘Tavor’ artichokes aren’t too bad!
A good way to know if seedlings need to be up-potted is by carefully looking at the bottom of their containers. If you see the tips of some roots starting to emerge from the drainage holes, the plants are ready to be moved to larger pots.
Up-pot seedlings step one:
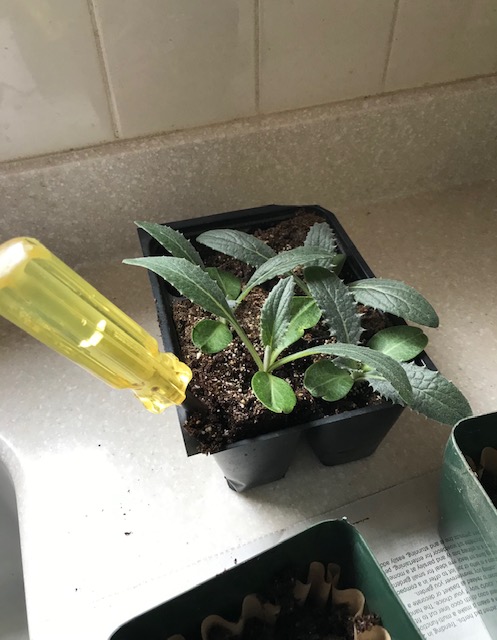
In this second photo, you’ll notice there’s a slot screwdriver sticking out of the pony pack. As I’ve mentioned in the past, you should NEVER pull up a seedling by its main stem! You will crush the cells in the stem, which transport moisture and nutrients throughout the plant. This will either set back the plant significantly or even kill it.
I use a screwdriver and slip it into the container along the outer edge of the soil and, using the screwdriver, gently lift it up out of the pot. I hope that makes sense!
Up-pot seedlings step two:
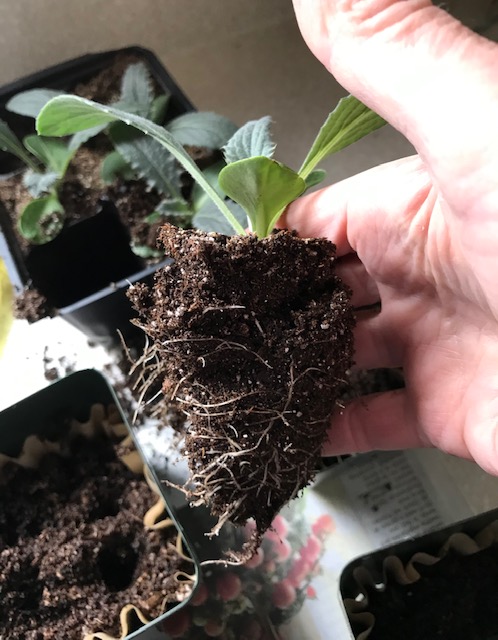
In the third photo, look at the fantastic root system the artichoke seedling has developed in such a short period of time. Isn’t that amazing?
You can also see one of the pots that I’m getting ready to move the seedling into. And you might even notice the top of a coffee filter that I inserted into the pot first. You don’t always need to do this but the larger pots I selected have quite large drainage holes in them. I was worried that every time I watered the seedlings, potting soil would run out the bottom. Hence, the coffee filters. When I transplant seedlings out in the garden in May, the coffee filter will already be biodegrading so I don’t need to peel it off the plant’s root system.
And one other thing: you’ll notice I mentioned potting soil. When I first start seeds, I plant them in a germination mix, which is also called a seed-starting mix. When I up-pot seedlings, I switch to an organic potting soil.
Up-pot seedlings follow-up:
Now I’ve up-potted the four artichoke seedlings into their very own pots. It is unlikely I will have to move them to larger pots but I’ll certainly keep an eye on them. If I start to see roots emerging from the new pots, I’ll bump them up one more time!
I hope this was helpful. Again, these steps will apply any time you need to up-pot seedlings.
Now, about my fertilizer routine: I like to start out with a liquid fertilizer that is high in nitrogen, which is the first number listed on containers or packages of fertilizer. The easiest type of liquid fertilizer to find is fish emulsion but garden centers also carry others that are primarily used to get young plants off to a good start.
I dilute the fertilizer with water and use half as much fertilizer as the label recommends, while the plants are small. So if the label says to use 1 tbsp. of fertilizer to a gallon of water, I use 1/2 tbsp. fertilizer to a gallon of water. I typically fertilize the seedlings about every 2 weeks. Once the plants are officially transplanted out in the garden, I’ll fertilize them again and maybe about 2 weeks later. Then, if the plant is going to bloom and set fruit (peppers, eggplants, tomatoes, melons, squash, pumpkins, etc.), I’ll switch to a liquid fertilizer where the middle number (phosphorus) is higher. Bone meal works well for this, too. I’ll just fertilize them with that one or two times and then the plants should be doing great.