
Seed-Starting Terminology

I recently wrote about using “vernalization” for starting artichoke seeds. There are two other seed-starting terms that you might find both interesting and useful. Those are stratification and scarification and they apply to the seeds of different plants.
I thought it might be helpful to define and elaborate on all three terms here. That way, so everything is together in one place for you:
Vernalization: This is the process of exposing seeds to cold temperatures. You’re fooling them into thinking they’ve been through a winter so they should form flower buds. This is particularly applicable to those who want to grow artichokes. It applies to those living in a zone where they have to grow them as annuals. That typically means USDA zone 6 and below. How does vernalization work?
Begin this process about two weeks before you want to start the seeds. Place the seeds in an airtight container that has some lightly moistened peat moss. Then put the container into the refrigerator. After those two weeks have elapsed, go ahead and start the seeds indoors just as you normally would. Two weeks before it’s time to transplant the artichoke seedlings out into the garden, place them outside. The goal is for them to be exposed to cool temperatures. Then you can officially plant them in the garden and — hopefully — have a bountiful harvest!
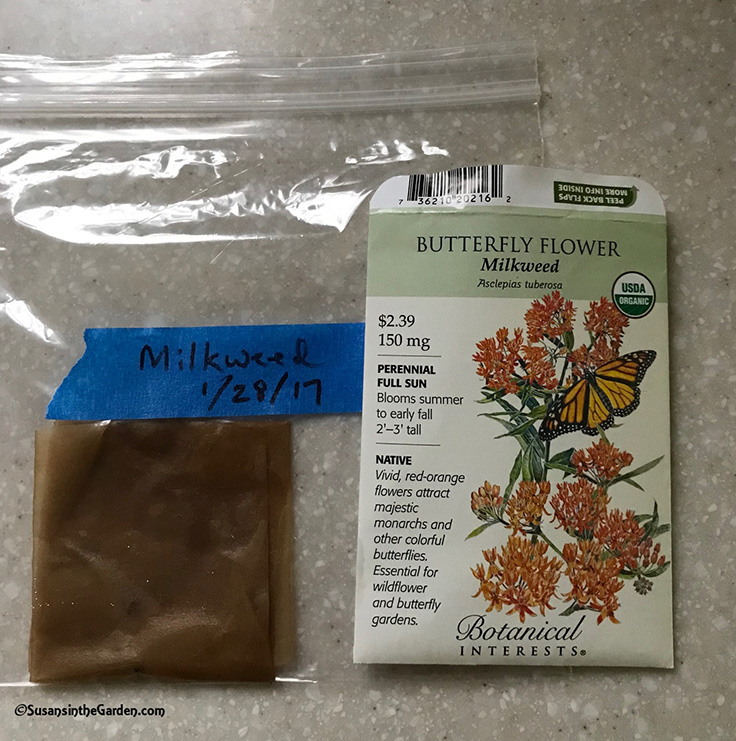
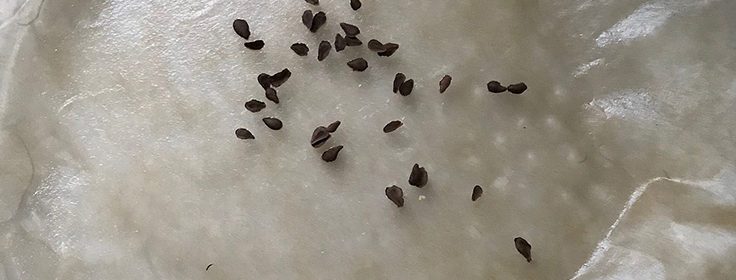
Stratification: This technique is similar to vernalization in that you are again trying to trick your seeds. You want them to think winter is ending and spring is about to begin. I’m planning to grow my own milkweed plants to attract butterflies to my garden. The seed packet recommends a cold/moist stratification period so I figured I should look into this. It turns out, the seeds should go through this period for one month! (planning ahead is a good idea, apparently)
What’s the procedure? First, dampen either a paper towel or a coffee filter (I used the latter) and place it on a plate. Then you sprinkle the seeds onto the towel or filter, and fold it around the seeds. Place the covered seeds in a labeled plastic bag and seal it. Put the bag into an airtight container and set it in the refrigerator. Be sure to mark your calendar so you remember to take them out of the fridge after a month! At that point, you can start your seeds as you normally would. This apparently makes a huge difference in germination so I’m going for it.
Scarification: Some seeds that have particularly hard coats, which can make it difficult for them to germinate. The whole point of a seed having a tough coat is to prevent it from germinating at the wrong time. What does scarification involve? The short answer is nicking the coat by using either a piece of sandpaper or an emery board. Which types of seeds require scarification? The only type of seed I’ve ever had to nick or scrape was New Zealand spinach. But according to my research, others include morning glories, lupines, sweet peas and nasturtiums. However, if you’ve ever had trouble getting any of these to germinate, there’s an easy solution. Soak the seeds in water overnight before planting them. That causes them to swell, which in turn breaks up the outer seed coat.
It’s important to remember that you don’t have to automatically know which technique to use. Or even IF the seeds you want to start require any of this, for that matter.
In my case, I just happen to be starting two types of seeds that require unusual steps. None of my other seeds need this TLC. Just read your seed packets. They typically let you know if a type of seed will benefit from this. You’ll find special instructions on how to accomplish it.
OK, do you feel smarter now? Even if you don’t ever need to use these techniques, you have learned something new about seed-starting. And that’s always a good thing.