
How to Make Grape Juice
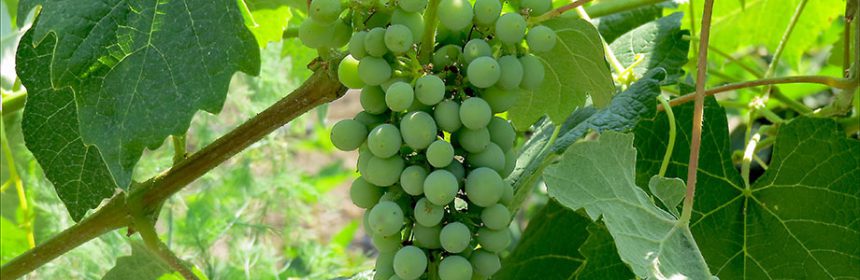
My husband, Bill, and I grow three kinds of grapes: ‘Canadice’, ‘Glenora’ and ‘Vanessa’. The first to ripen is ‘Glenora’. Sometimes we use the grapes for jelly and oftentimes we make grape juice. Doing the latter is very simple, especially if you have a steamer/juicer.
Step by step:
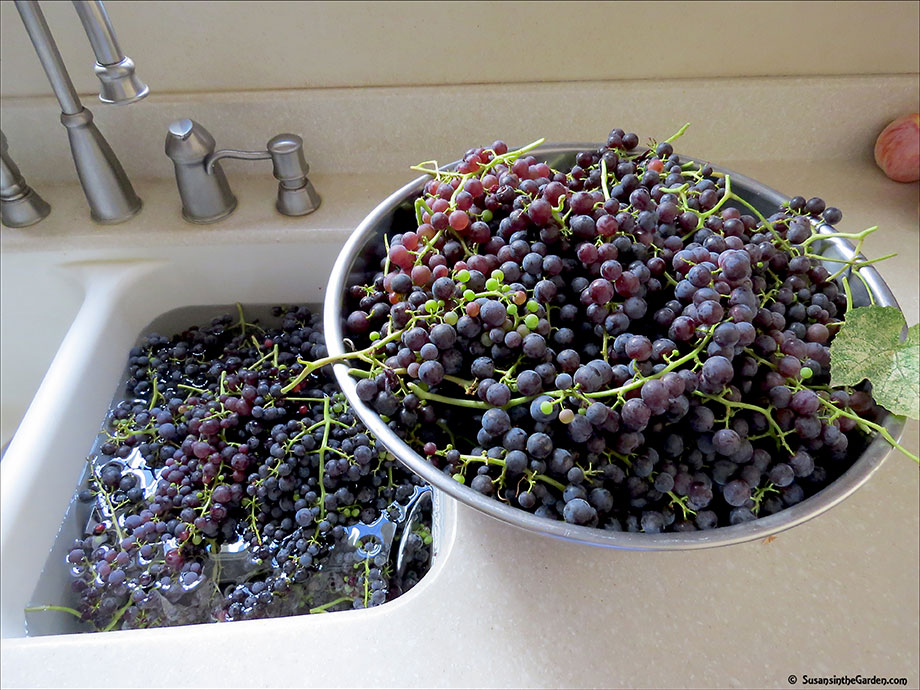
1. Pick the grape clusters, leaving them on the stems.
2. Wash the grapes, again keeping them on the stems. (are you liking this so far? Pretty easy, huh?)
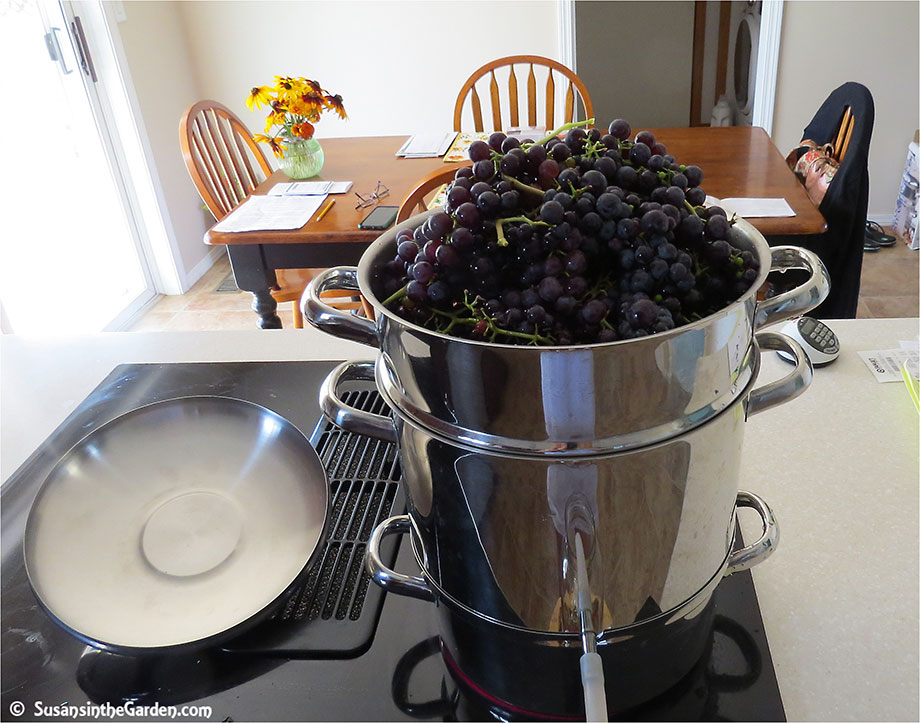
3. Place the grapes — stems and all — into a steamer/juicer. Here’s how these remarkably simple pieces of equipment work: there’s a section at the bottom that holds the water; next is a large kettle into which the juice collects. That kettle has a tube attached to it, through which the juice flows into a collecting container (we use a gallon-sized jar). There’s a large strainer that rests inside the kettle and that’s where you put the grapes. And finally, a lid covers the kettle and strainer.
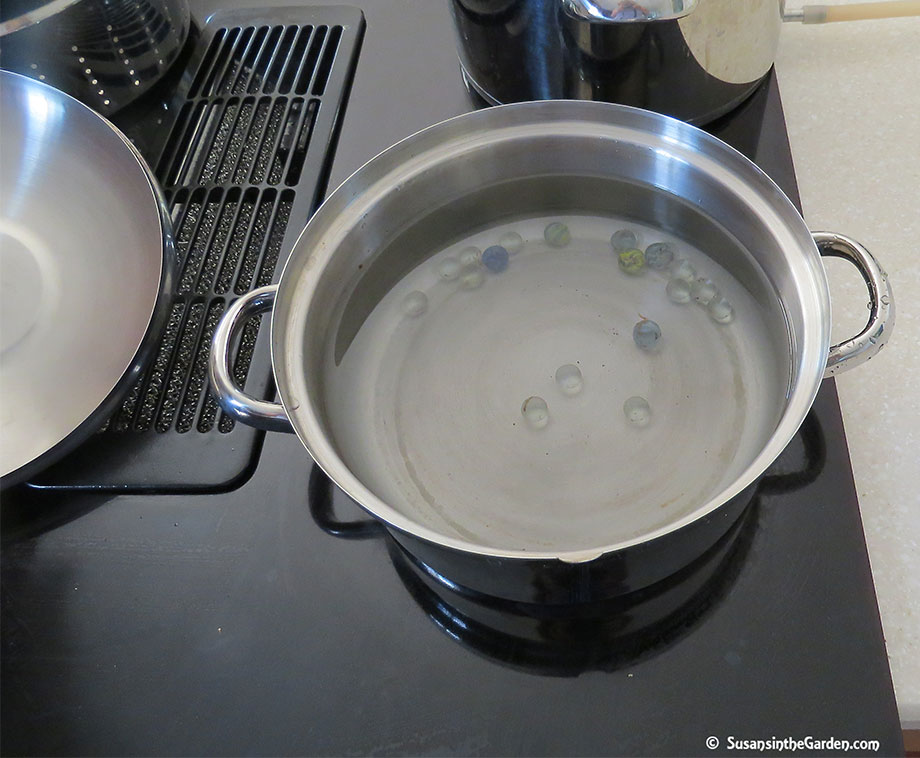
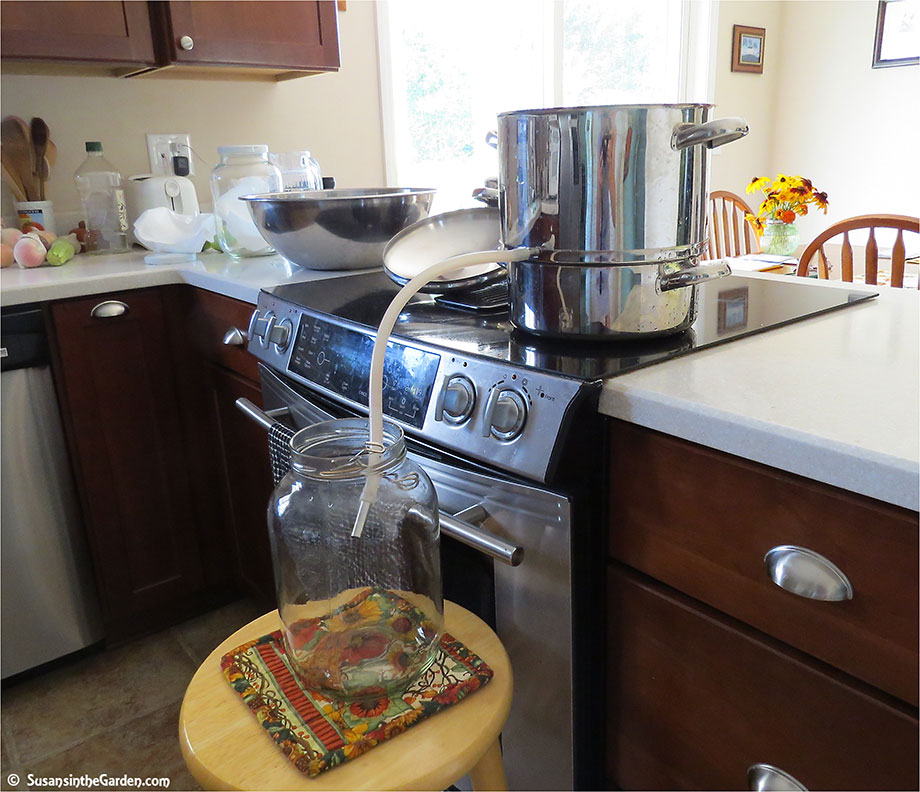
4. Once you’re all set up, turn on the burner on your stove and bring the water to a boil. You never want the water to boil completely away. Here’s a nifty tip to alert you when the water is just about gone, since there’s no way to see inside the reservoir without lifting the kettle off of it. Place a few marbles (see photo to left) into the water reservoir. They will bounce around while the water is boiling. They’ll stop bouncing when the water is nearly gone. At that point, you want to quickly refill the water reservoir and then you’re back in business!
5. Grapes usually need about 60 minutes of steaming to yield their juice. It’s pretty cool to see the juice flowing through the tubing into your collecting container. Note how we place our jar on a kitchen stool in front of the stove. That way, it’s a lower than the steamer/juicer, which allows the juice to flow freely into the jar.
6. Once you feel you’ve gotten all the juice you’re going to get, store it in your refrigerator overnight. This makes the tartaric acid crystals sink to the bottom. The next day, carefully pour off the “good” juice into a stockpot and discard the thicker, crystal-laden juice.
Canning steps:
1. Heat your grape juice until it’s almost at a boil. Taste the juice to make sure it isn’t too acidic for your liking. If necessary, add a little bit of sugar but continue tasting to make sure you’re not adding too much. I love it when the juice doesn’t need any sugar at all!
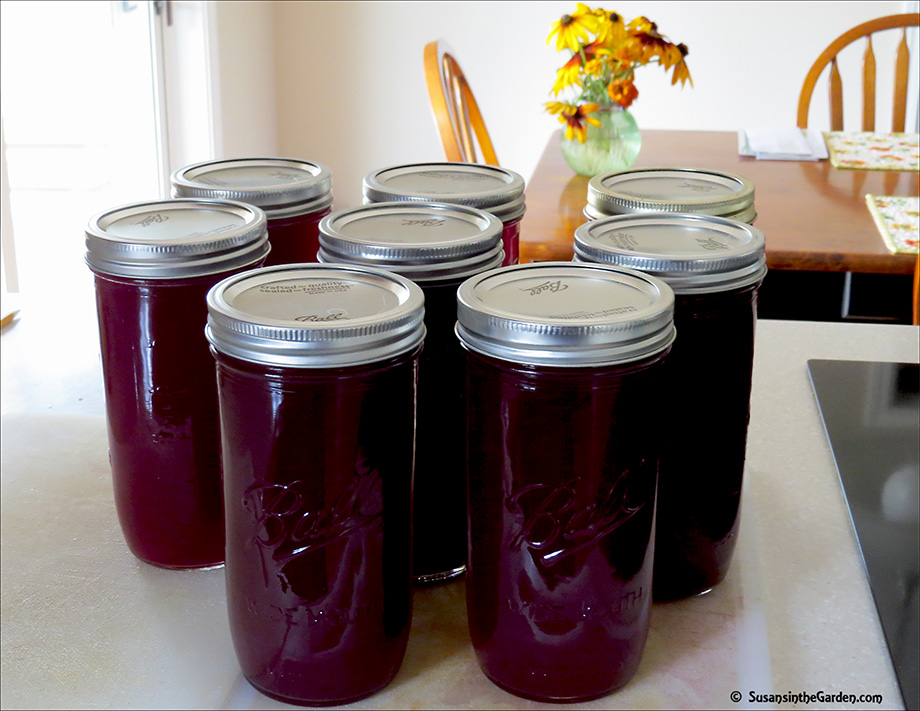
2. Ladle the juice into hot, sterilized canning jars. Wipe the jar rims with a clean damp cloth and screw on the 2-piece canning lids. Place the jars into a water-bath canner for approximately 15 minutes. Note: If you live in a high altitude location like I do, you’ll need to add on processing time. Be sure to consult a reliable canning reference for specifics.
3. When it comes to canning, follow the directions to the letter to ensure the end product is safe. I highly recommend the Ball Blue Book, and have found a Ball Canning Guide online for you.