
Drip irrigation project, part two
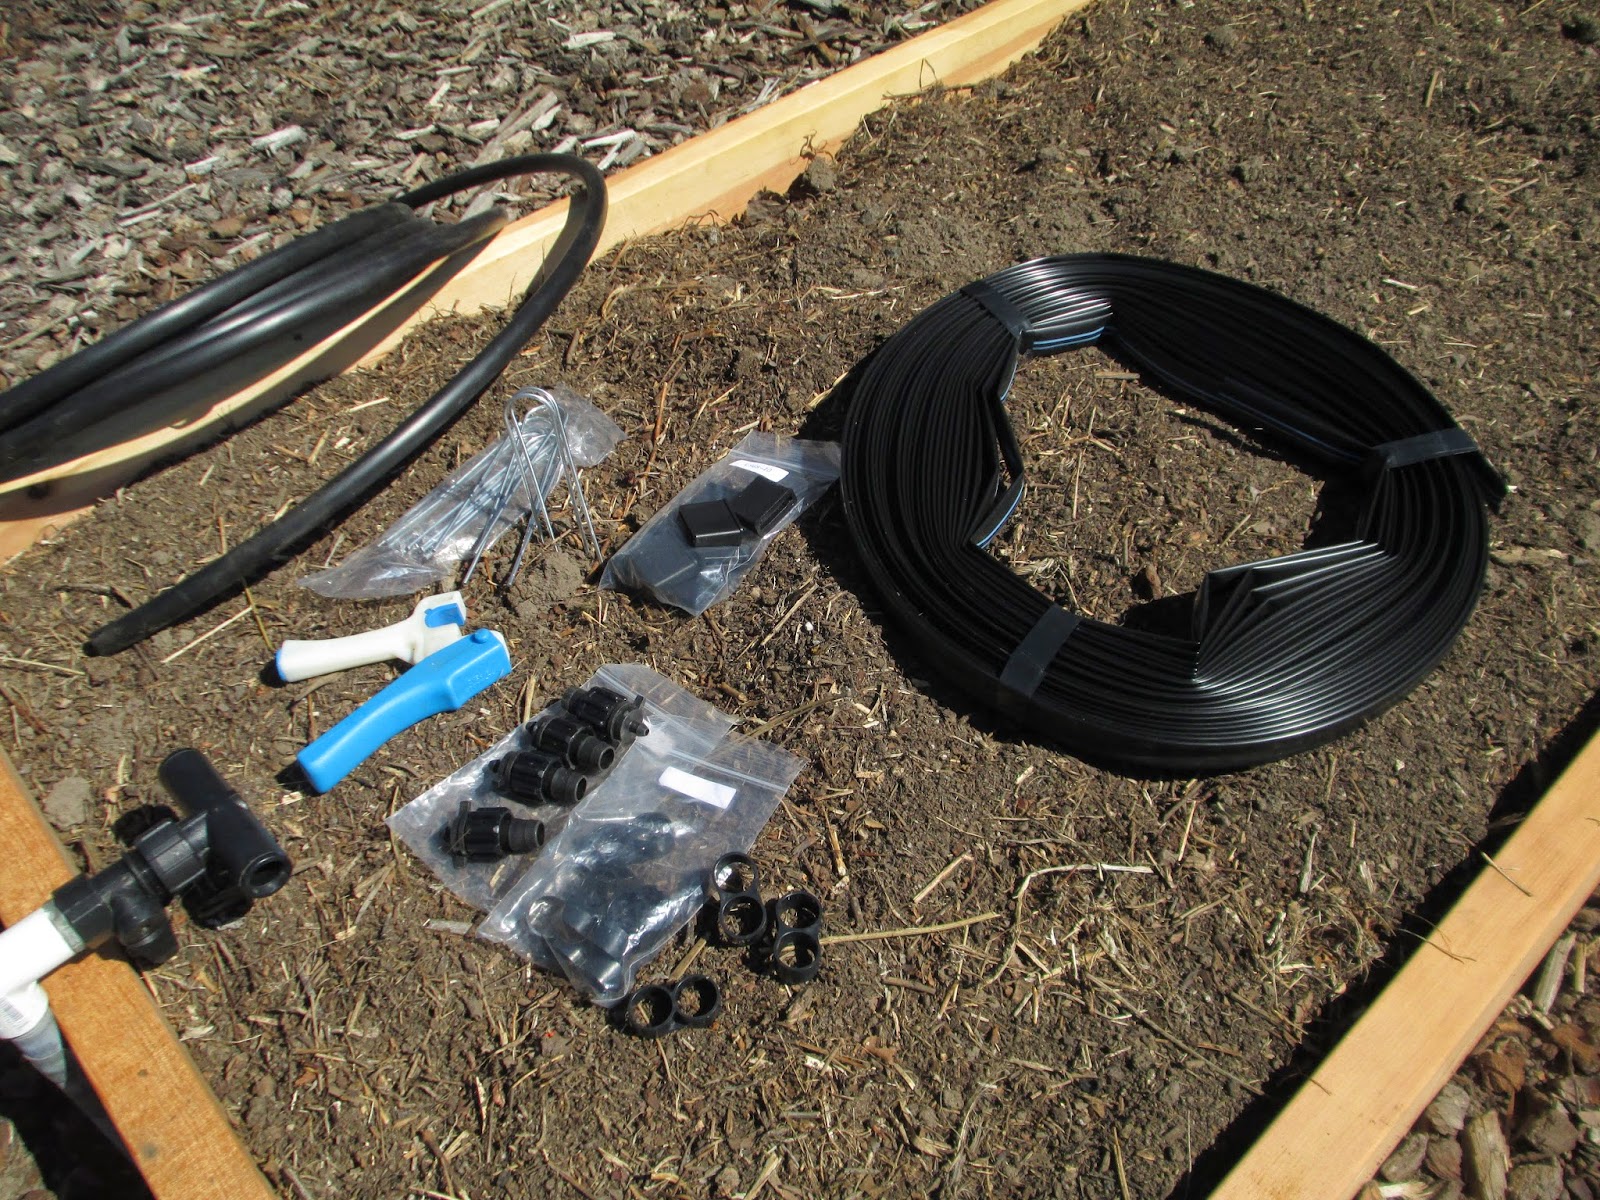 |
| Photo #1: drip irrigation |
This is a continuation of our discussion (see previous post) about the new drip irrigation system we recently installed. I wanted to show you what we did on one of our 3′ x 8′ raised beds.
Drip irrigation supplies:
Photo #1 shows the supplies we needed: 1/2″ tubing to make the manifold, 1/2″ figure-8 ends to seal off each end of the tubing, Miracle Punch, (3) tape x 1/4″ barb fittings, roll of Aqua Traxx drip tape, (3) grip sleeve ends to seal off the far end of each drip tape line, and metal pins to hold the drip tape in place. Already attached to the bed (on the left) is a PVC riser and valve, and a 1/2″ T compression fitting.
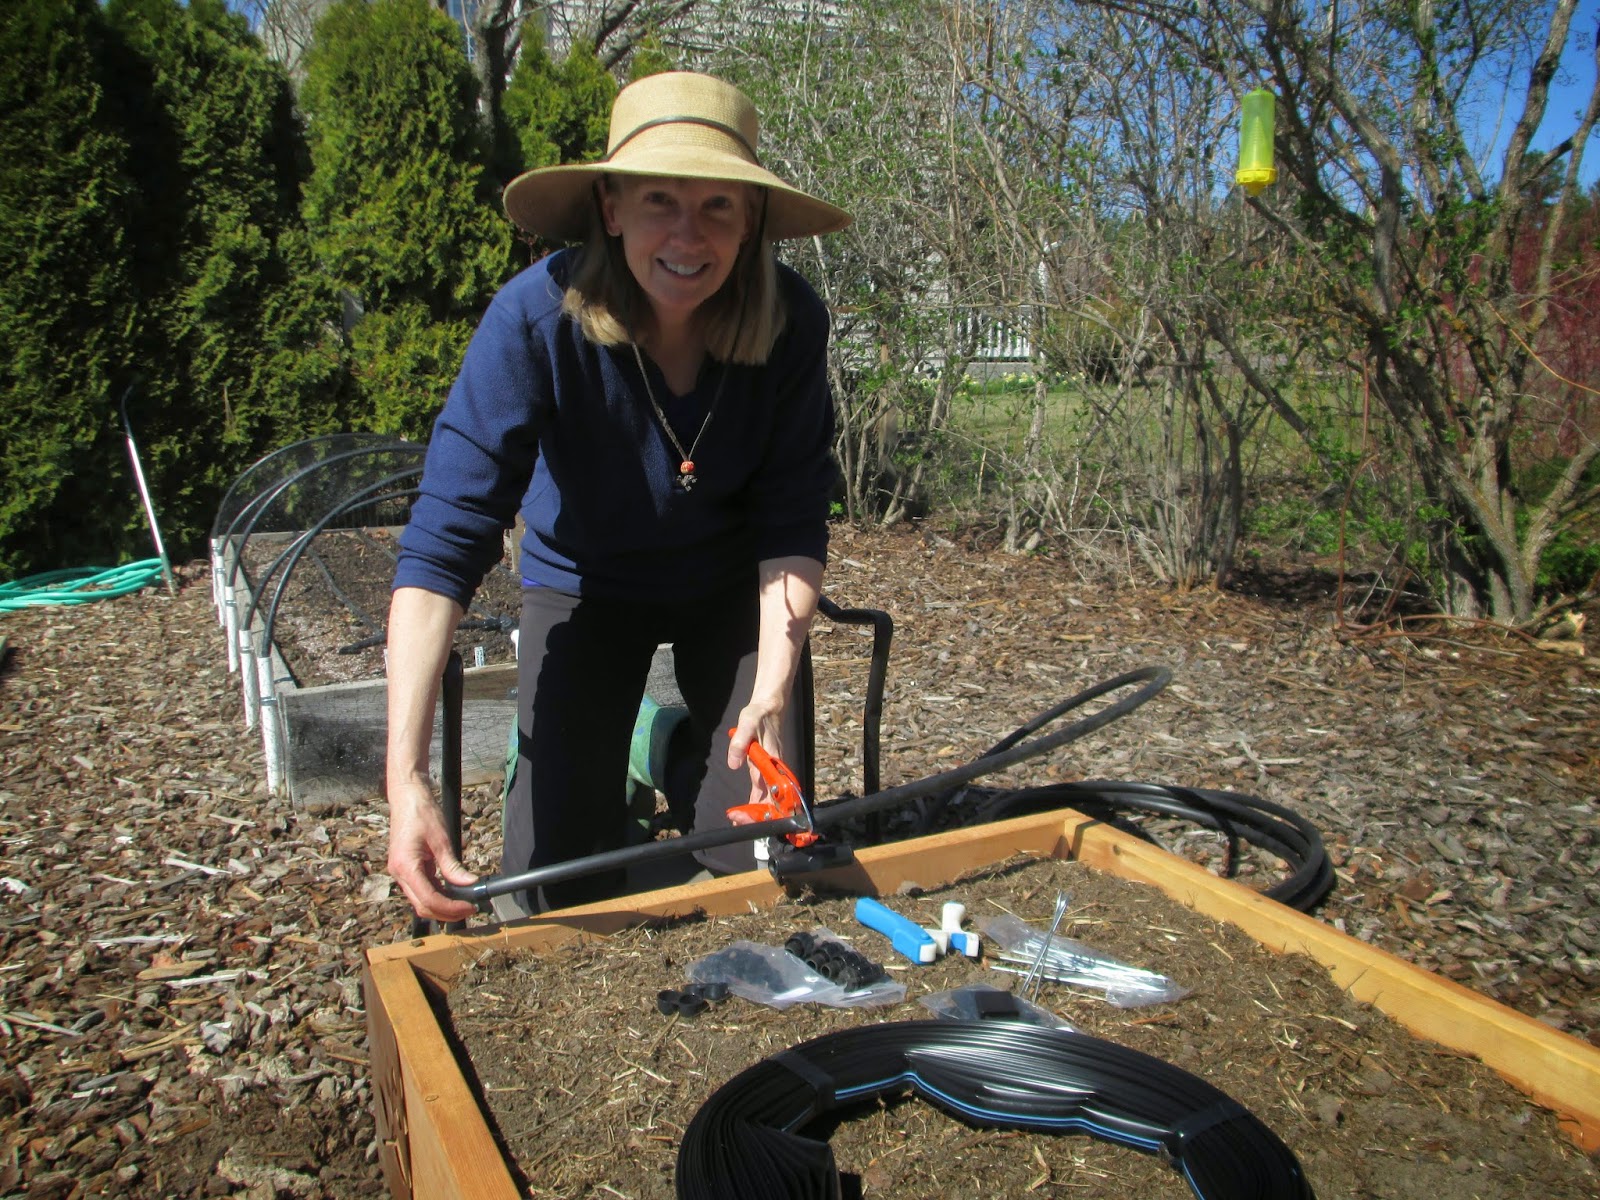 |
| Photo #2 |
Photo #2: Cutting the 1/2″ tubing for the manifold.
 |
| Photo #3 |
Photo #3: Using the Miracle Punch for punching holes into manifold. Each hole will accommodate a connector (which are called tape x 1/4″ barb fittings).
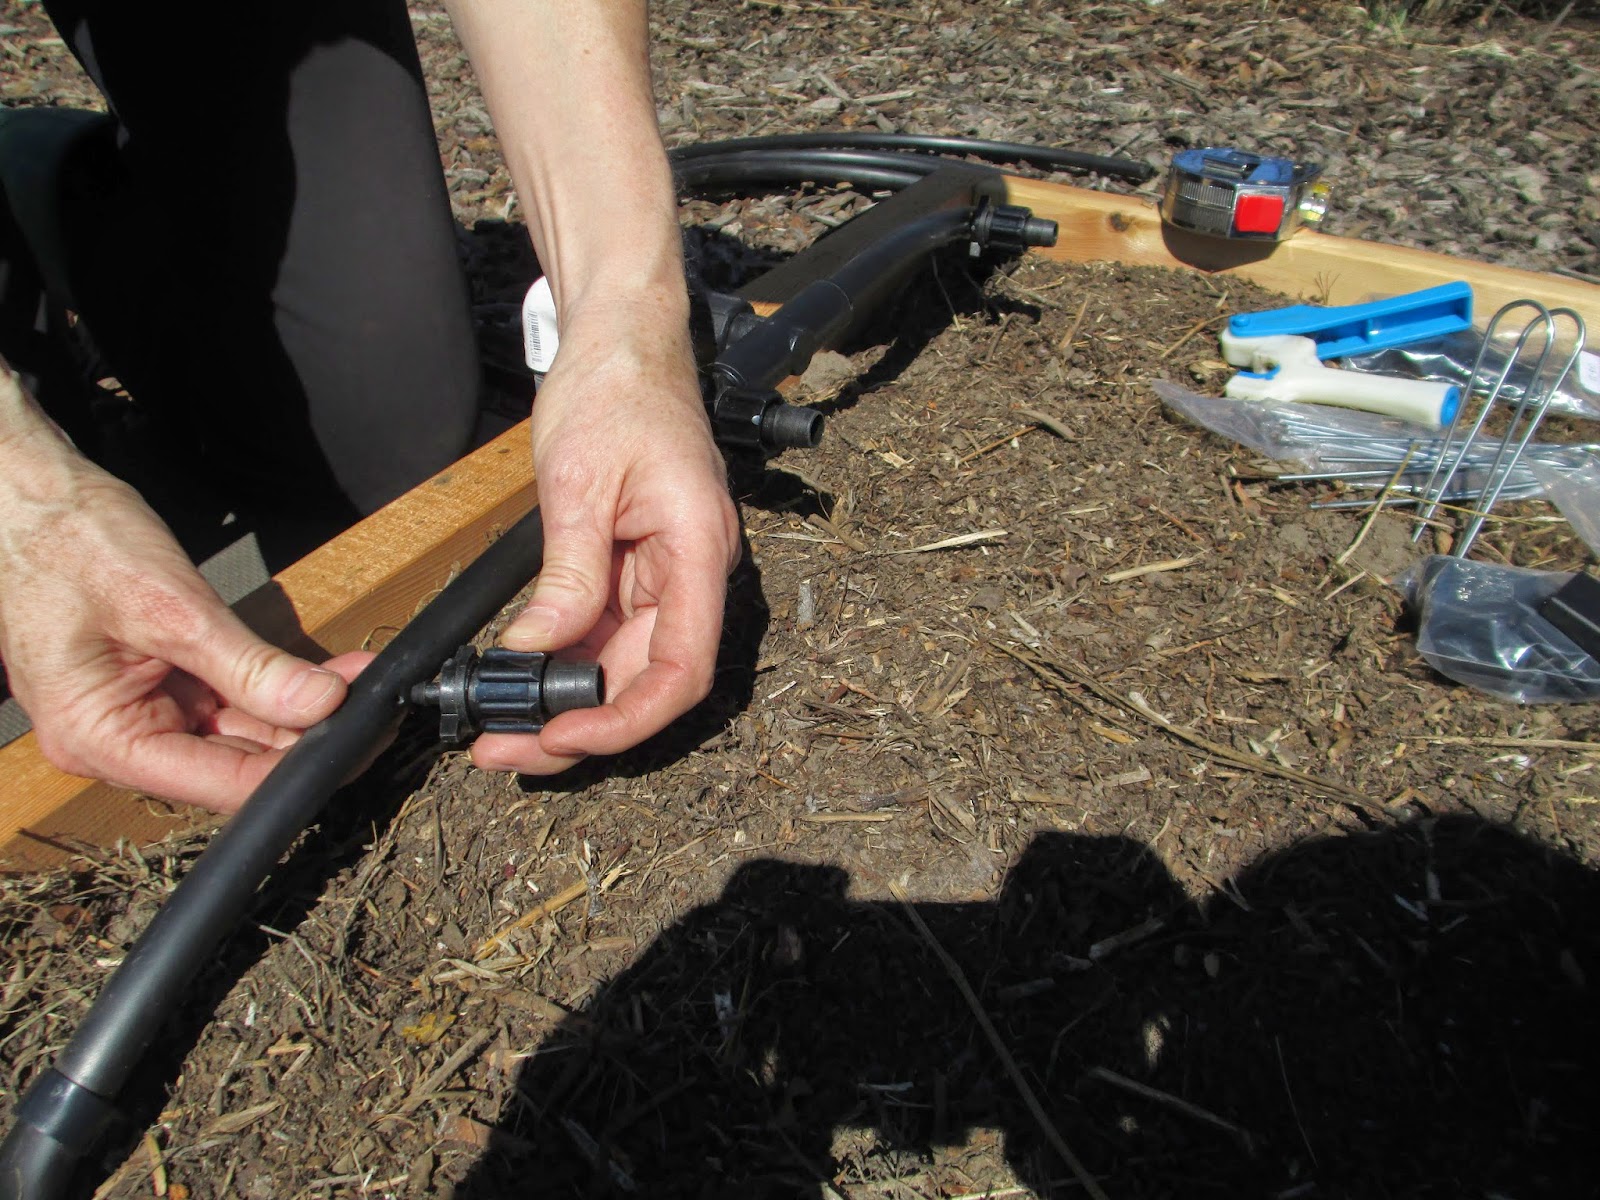 |
| Photo #4 |
Photo #4: Attaching the tape x 1/4″ barb fittings to the manifold. The next step (not shown) was installing the Aqua Traxx onto each barb fitting and tightening it to hold it in place.
 |
| Photo #5 |
Photo #5: Folding the far end of each Aqua Traxx drip tape line to seal them, using the grip sleeve ends.
 |
| Photo #6: The finished product! |
Photo #6: Ta-da! The new set-up is ready to use. The process was very simple.
I love our drip irrigation system. It’s certainly great for conserving water. The pre-filter reduces potential for clogging issues. And it’s easy to swap out components, if needed.